You’re at square one, staring at a session of unmixed tracks. Where do you go from here? In this video from the team at iZotope, learn how to mix your track and even get a rough master ready, all with core mixing and mastering tools like Neutron for mixing, Nectar for vocal processing and Ozone for mastering. Don’t forget to check out all of their tools that are in Music Production Suite 3.
Here is a table of contents if you would like to navigate around the video…
1:05 - Importing tracks and understanding level balance
3:25 - Introduction to the Visual Mixer
4:30 - Choosing your Focuses for Balance
6:10 - Reclassifying instruments and using the group sliders in Balance
7:30 - Bypassing Mix Assistant’s default result and tweaking the group sliders
10:55 - Organizing the tracks in your session
12:00 - Mixing Drums
13:00 - Using Track Enhance to jumpstart kick drum mixing
16:00- Moulding a kick drum with Sculptor
18:30 - Using the Masking Meter to remove muddiness between percussive elements
23:58 - Adding reverb to rimshots
25:38 - Mixing a snare drum with Sculptor
27:40 - Taming hi-hats and mixing bells
31:45 - Mixing Bass
33:43 - Using Track Enhance to jumpstart bass synth mixing
36:53 - Using dynamic sidechaining to unmask the bass synth from the kick drum
40:54 - Mixing Guitars
41:45 - Using Sculptor’s Targets to fit guitars into the mix
44:50 - Mixing Synths
45:00 - Tackling resonance and broadband issues in analog synths with Neutron 3
49:42 - Mixing Vocals
50:26 - Using Nectar to mix a lead rap vocal
53:02 - Using Auto Level Mode in Nectar to automatically gain-ride a vocal
55:56 - Quickly processing ad-libs with presets in Nectar 3
59:19 - Mixing and panning chorus and verse vocal doubles with Nectar 3 and Visual Mixer
1:07:58 - Drum bus processing with Sculptor
1:11:21 - Mastering The Track
1:12:09 - Using Master Assistant to jumpstart the mastering process
1:17:33 - Using Tonal Balance Control to ensure track translatability
1:20:00 - Addressing tonal imbalances using Ozone and Tonal Balance Control
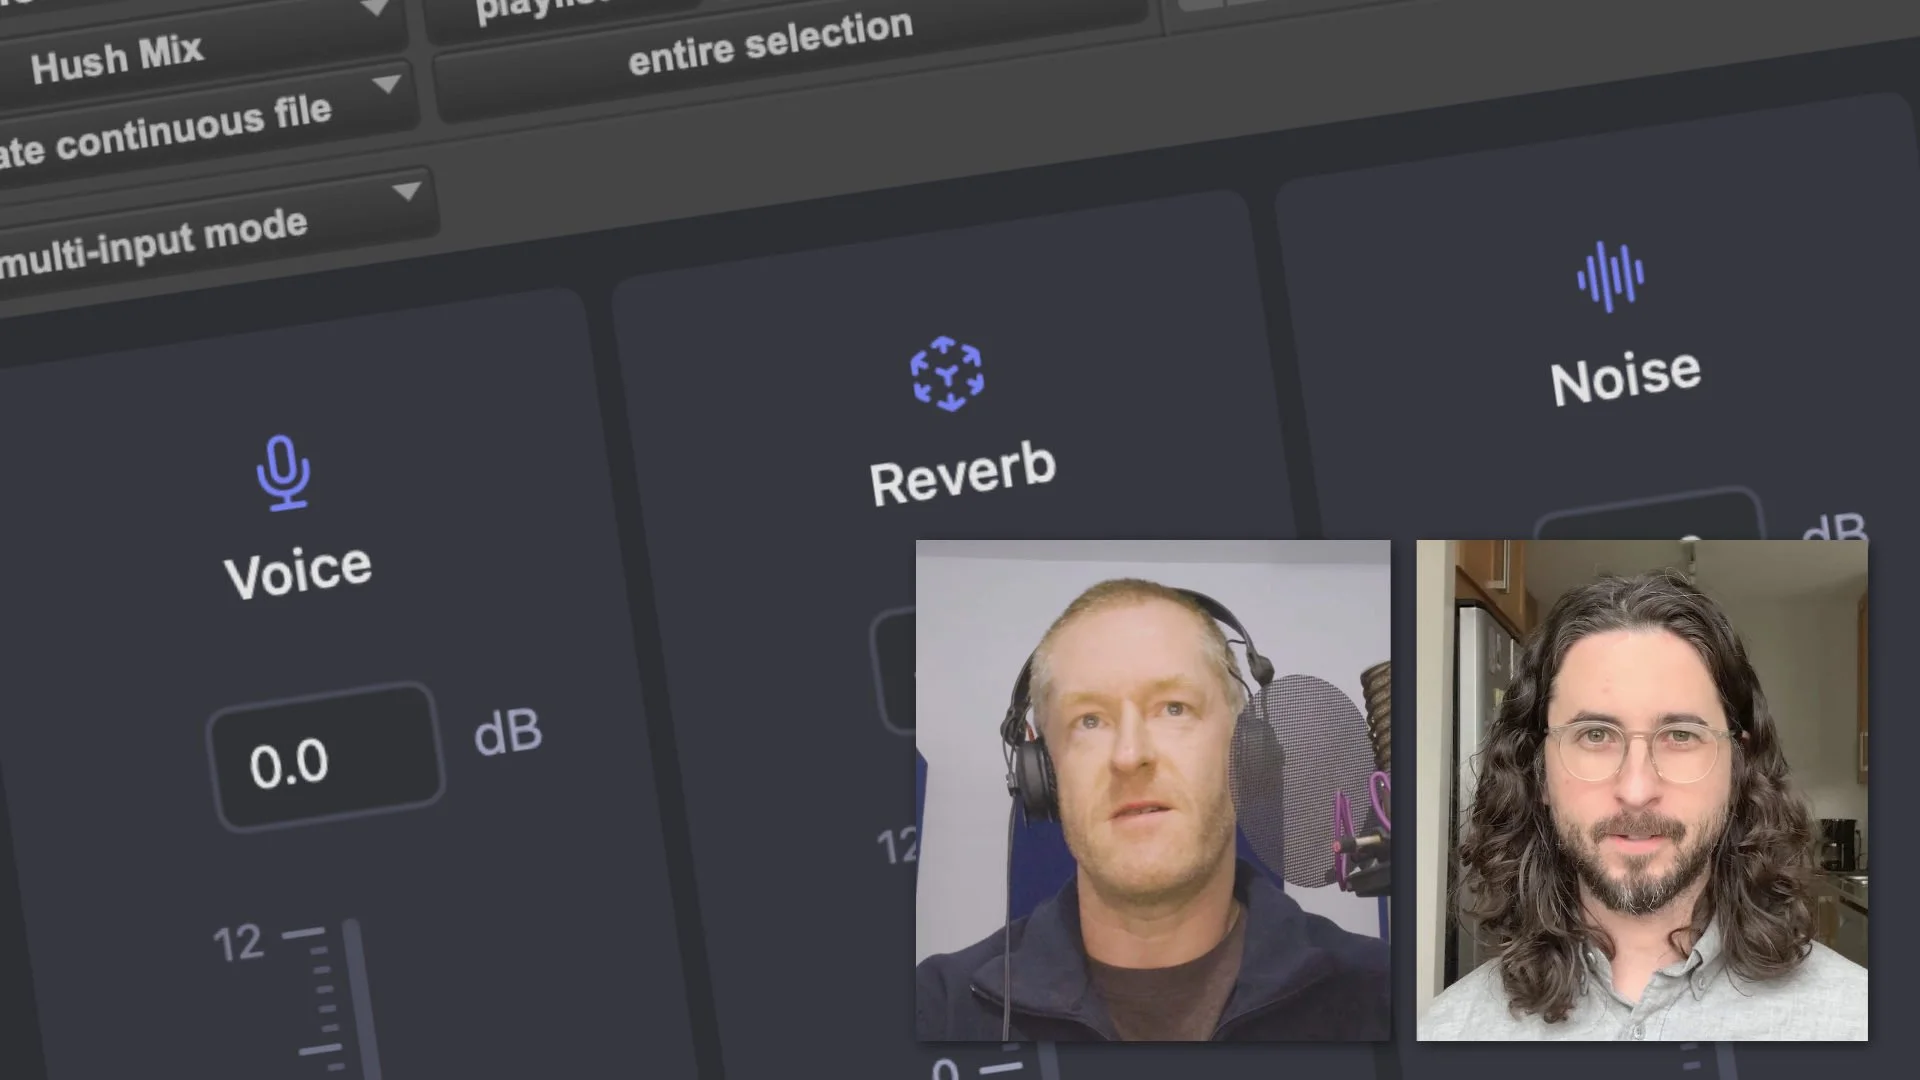
Session Setup And Level Balance With Mix Assistant
The first thing to do is import your session files into a blank DAW to get ready for initial level balance, but what do you do from here? What you don’t do at this point is to reach for an EQ, dive into compression, or add time-based effects like reverb or delay. The first step is all about setting levels.
Many mix engineers start with an overall level balance of all the tracks to establish a sort of sonic hierarchy. Mix Assistant in Neutron is a great option to quickly balance your mix. You can download free session templates to help jump-start the Mix Assistant setup process.
Mix Assistant gives you a starting point for your mix by automatically suggesting initial levels for all the tracks in your session. While analysing your session, mix elements are bucketed into logical groups (a focus track, vocals, bass, drums, etc.), so you can quickly make broad adjustments. In just a few clicks, you can achieve a roughly balanced mix for even the most complex sessions. Further adjustments can be made on a per-track basis within the Visual Mixer (free with a demo download of Neutron 3 Advanced!) or using the faders in your DAW.
How To Mix Drums And Unmask Individual Elements
Once you have an initial level balance and your tracks are nicely organised and grouped, a good next step is tackling the drums. Let’s start with the kick tracks, which often perform the same function, to propel the track forward and add power to the track. In the video above, we use Track Enhance in Neutron to jump-start kick drum mixing, before further moulding the kick with Sculptor.
A common problem you might encounter when mixing drums is a sense of muddiness between percussive elements. This is called masking, and it can happen when two sound sources have energy in similar frequency ranges. A great tool to help alleviate this is the Masking Meter in Neutron, which gives you visual feedback of the frequencies where masking may occur between your tracks.
Watch the video above to learn more about mixing drums, including adding reverb, moulding the snare with Sculptor, and taming hi-hats along with bells.
How To Mix Bass With Track Enhance In Neutron
If there was a dark art of mixing, it would be mixing bass. In the video, we use Track Enhance in Neutron to jump-start bass synth mixing before pulling in some dynamic sidechaining to help unmask the bass synth from the kick drum.
How To Mix Guitar And Synths With Sculptor
Neutron’s Sculptor module can help you mix and shape your guitar tracks, and mould them toward a perfect target curve of a guitar. Have synth tracks to mix too? Sculptor has you covered. Just choose the appropriate target instrument profile and start shaping!
How To Mix Vocals With Nectar
In the video, we use Nectar to help mix a lead vocal. To avoid gain-riding, try the Auto Level Mode in Nectar to automatically keep your target gain around -8 dB or so. Follow along as we balance and pan the chorus and verse vocal doubles with Nectar and Visual Mixer.
How To Master A Mix With Ozone
With Ozone’s Master Assistant, you can easily jump-start your mastering process—years of studio practice not required. Watch in the video as we use Tonal Balance Control to ensure our tracks translate into the right distribution format and address any tonal imbalances. Don’t forget to check out all of these amazing tools and more in Music Production Suite 3.