This free video tutorial brought to you in association with Avid is the second in a series, aimed at people who are new to recording or new to Pro Tools. We follow the development of a demo recording from the point of view of someone with no prior experience of recording.
In part 1 we met Jess, a singer-songwriter who has written a song and needs guidance through the process of choosing a setup, setting it up and recording the song. In this second part, we set up a new Pro Tools session.
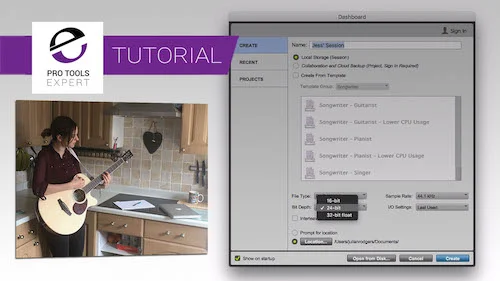
Part 2 - Setting Up The Session
Now we have some appropriate hardware and software, its time to set up a Pro Tools session. In the majority of cases, the default settings will work fine but there are a few areas which can cause issues. In this second video, we cover the setup process, flagging up potential issues as they present themselves.
Pro Tools First - In this example we are using Pro Tools Software and setting up a local session. Alternatively, you might prefer to use the free Pro Tools First application The principles outlined in this tutorial apply to Pro Tools First.
No Sound - There are a few reasons why you might not hear anything from your new system. Some of the most common causes are outlined in Things To Check If There Is No Sound In Pro Tools.
Dashboard - Previously known as the Quick Start window. This is where you set the basic parameters for your new Pro Tools session. The Dashboard introduced in Pro Tools 12, featured some new features, particularly the Cloud Collaboration features
Cloud Collaboration - In this example we set up a local Session as opposed to a cloud-based Project. Follow the link to find out more about the cloud collaboration features of Pro Tools.
Sample Rate and Bit Depth - The most basic parameters of a session, if you would like to know more about these then Studio One Expert ran a Sample Rate And Bit Depth - What Does It All Mean article recently.
IO Setup - In a new session on a simple system this window should look after itself but if your inputs and outputs don't seem to correspond with the hardware you're using you might need to set it to the default values. Another potential reason your inputs or outputs seem confused is that you might have the wrong playback engine selected.
Importing Audio - If you are using a previous recording as a guide, importing it into your new session is easy.
Click Track - Many people like to record to a click track, a timing reference is important when you are going to be overdubbing track over track. Setting up a click track is easy but some people find a click difficult to follow. This article suggests some ways to make your click easier to follow.
Latency - When recording into a computer its quite normal to hear a distracting delay or echo of what you are recording. This is caused by the time it takes the computer to do its work and calculate the sound it should output. This is called Latency and happens on all computer based systems to some degree. To understand why it is happening and what you can do about it, read Pro Tools Fundamentals - Managing latency In Native Systems
What Will We Cover In The Rest Of This Series?
Over the coming weeks, we will cover...
Recording to click and guide tracks
Microphone positioning
Overdubbing and latency
Comping
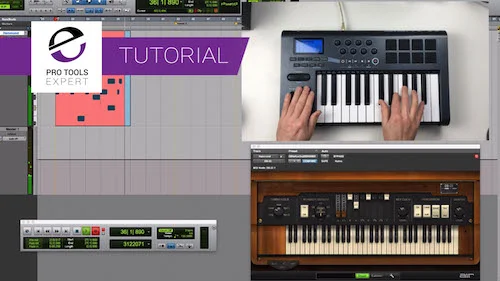
MIDI and Virtual Instruments
Mixing and Bouncing
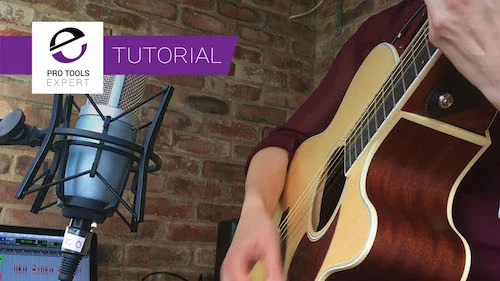
Part 3 - Recording
Come back for part 3 in which we look at setting up microphones ready for a first pass.