
Here’s a trick for people who like to experiment with arrangements and get creative with automation.
It’s not difficult to copy and paste automation just like anything else on the timeline but in the same way as it’s really convenient to be able to put audio and MIDI data into a ‘container’ and manipulate it on the timeline - in that case that container would be a Clip Group, it would sometimes be convenient to be able to put automation data into a container and treat it in the same way. A lot of the time that is already possible, if you have automation controlling mix parameters or plugins on an audio track then that automation data is contained in the clip along with the audio or MIDI data.
However, one track type where you can’t create a clip is the Aux Input. If you are using Auxes for effects returns or submixes you can’t create a clip on these tracks. Most of the time just using the Automation playlists is fine but if you want to manipulate clips containing automation data you can’t.
Use Instrument Tracks As Auxes
People with long experience of Pro Tools will remember the days before Instrument tracks. To use a virtual instrument you had to create a MIDI track and an Aux Input. The MIDI track handled the MIDI and the Aux Input hosted the VI. All an Instrument track is is a MIDN and an Aux Input combined into a single track for convenience.
Because of this an Instrument track is the perfect candidate for an Aux Input which can host clips on the timeline. The clip doesn’t have any MIDI data in it and the Instrument track doesn’t host a VI but it has insert slots and can host automation playlists in the same way as an Aux.
Automation Follows Edit
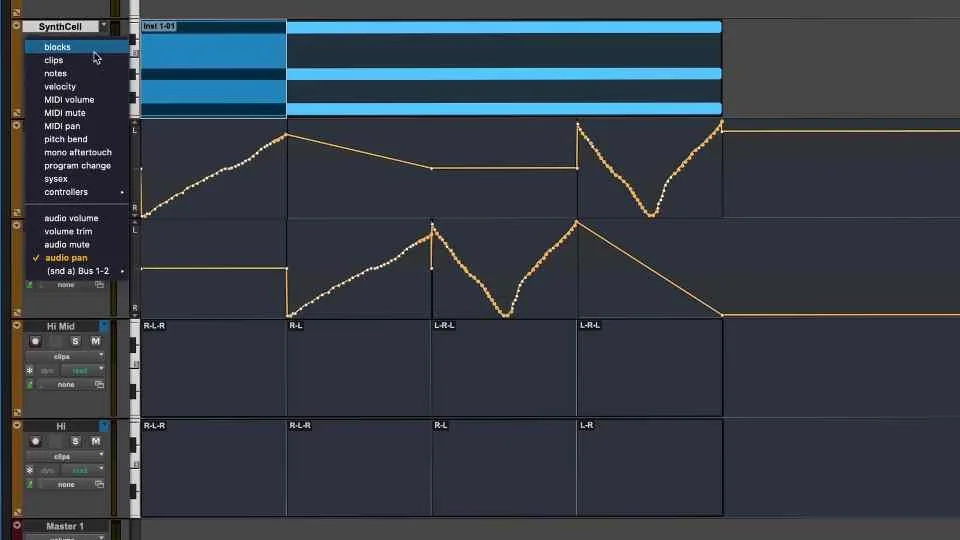
Central to how this trick works is ‘Automation Follows Edit’ this button toggles a setting which, when engaged (blue) means that if you move or copy a clip its underlying automation data moves with it. If it is off (orange) then this won’t happen.
Using this setting it is easy to use the same techniques with your automation as you do with clips. Great for getting creative. See how this works in the free tutorial video brought to you with the support of Avid.
To get deeper into this trick here’s a premium video in which Julian explores further with some practical and workflow issues and suggestions on how to best use this trick.
How Can I Watch This Video?
Firstly you can watch the preview section of this video for free, no charge and with no signup. If you have not yet signed up to the new platform, and you want to watch the rest of this video, and hundreds more like it, then you can by signing up for a free 7-day trial. If you aren't satisfied it is a good deal then cancel the subscription within the 7 day trial period and it won't cost you a penny. If you like it then for just $3.99 per month you can watch this and hundreds more videos like it.
If you are already an existing subscriber to our new video platform, then thank you for your support and you will be able to watch this video all the way through.
