Is it possible to run a studio using a MacBook Pro and be noise free? Russ Hughes decided to put it to the test and with a combination of hardware, software and practical solutions he has got some surprising results.
For many years I’ve been running two Macs, a Mac Pro 6,1 Trash Can as my studio machine and a MacBook Pro for my second, portable machine. I’m sure I’m not the only person who has used this arrangement as a solution that gives me power for my studio work and portability for when I travel.
However when I looked at the results of tests on things like the Mac mini for use in the studio it started me wondering if I could rationalise my set-up into one machine, that being one of the powerful MacBook Pro 8 core i9 models at the top of the range? Disc space wasn’t a concern as any media based content has lived on external drives for several years now. As I’ve already said, the performance of the new i9 based MacBook Pro is on a par with some desktops, that is of course unless you want to launch the Space Shuttle then you go for the new Mac Pro 7,1.
The Art Of Noise
However, the elephant in the room is fan noise. Anyone who has followed me for any time will know that I’m borderline OCD when it comes to noise in the studio, this has meant me replacing fans in an Avid Omni. It means I also have a machine room, in the form of a cupboard from IKEA that houses all my hard drives, see below. So, like many, any solution that adds noise to the equation is off the table for me.
I went ahead and ordered a MacBook Pro (16-inch, 2019), 2.4 GHz 8-Core Intel Core i9 with the idea of replacing my Mac Pro Late 2013 12 Core. I decided to move all my work to the MacBook to see if I ran out of power or had other issues, namely heat and noise. Here’s what I’ve discovered over the last week.
Job One - Move Data
When I get a new Mac I normally make a copy of the old machine and port it to the new one, I would do this job using Carbon Copy Cloner to make (as the name suggests) a carbon copy of the other machine. However my studio machine has had some odd moments so I decided to start fresh. It’s pretty easy; as it’s a Mac all my personal data is either sitting on the cloud, in Dropbox or my email is in the cloud.
As already said, all the content is on external drives so there’s not much to lose, one thing to check though is that any machine based licences may need to to be moved back off the machine, Waves is one example, or deauthorized so I don’t run out of machine activations on any particular account. That’s all pretty simple BUT you must do it before you format a drive that contains them as in some cases you can’t deauthorize them after the event.
Job Two - Connect External Peripherals
A MacBook Pro has 4 Thunderbolt 3/USB-C connections and anyone who uses a modern studio will know that 4 ports is not going to get you very far. Not wishing to end up with dongle hell and knowing I had a lot of Thunderbolt 2 drives, USB-3 and two monitors to connect I decided to plan it around three core devices.
The I/O available when using the CalDigit TS3 Plus
2 x Thunderbolt™ 3
1 x DisplayPort 1.2
5 x USB-A 3.1 Gen 1 (5Gb/s, 1.5A, 7.5W)
2 x USB-C
1 x USB-C 3.1 Gen 2 (10Gb/s, 1.5A, 7.5W) Rear
1 x USB-C 3.1 Gen 1 ( 5Gb/s, 1.5A, 7.5W) Front
1 x SD Card Reader (SD 4.0 UHS-II)
1 x Digital Optical Audio (S/PDIF)
1 x Gigabit Ethernet
1 x Analog Audio In (Stereo)
1 x Analog Audio Out (Stereo)
Elgato Thunderbolt 2 Dock (Already owned)
2 x Thunderbolt 2
1 x HDMI 1.4b output
1 x RJ45 Gigabit Ethernet
3 x USB 3.0
1 x 3.5 Millimeter headphone output
1 x 3.5 Millimeter microphone input
ORICO 10-Port Aluminium USB 3.0 Hub
Getting tired of crappy low quality plastic USB hubs I invested in this metal unit.

Elgato Thunderbolt Hub
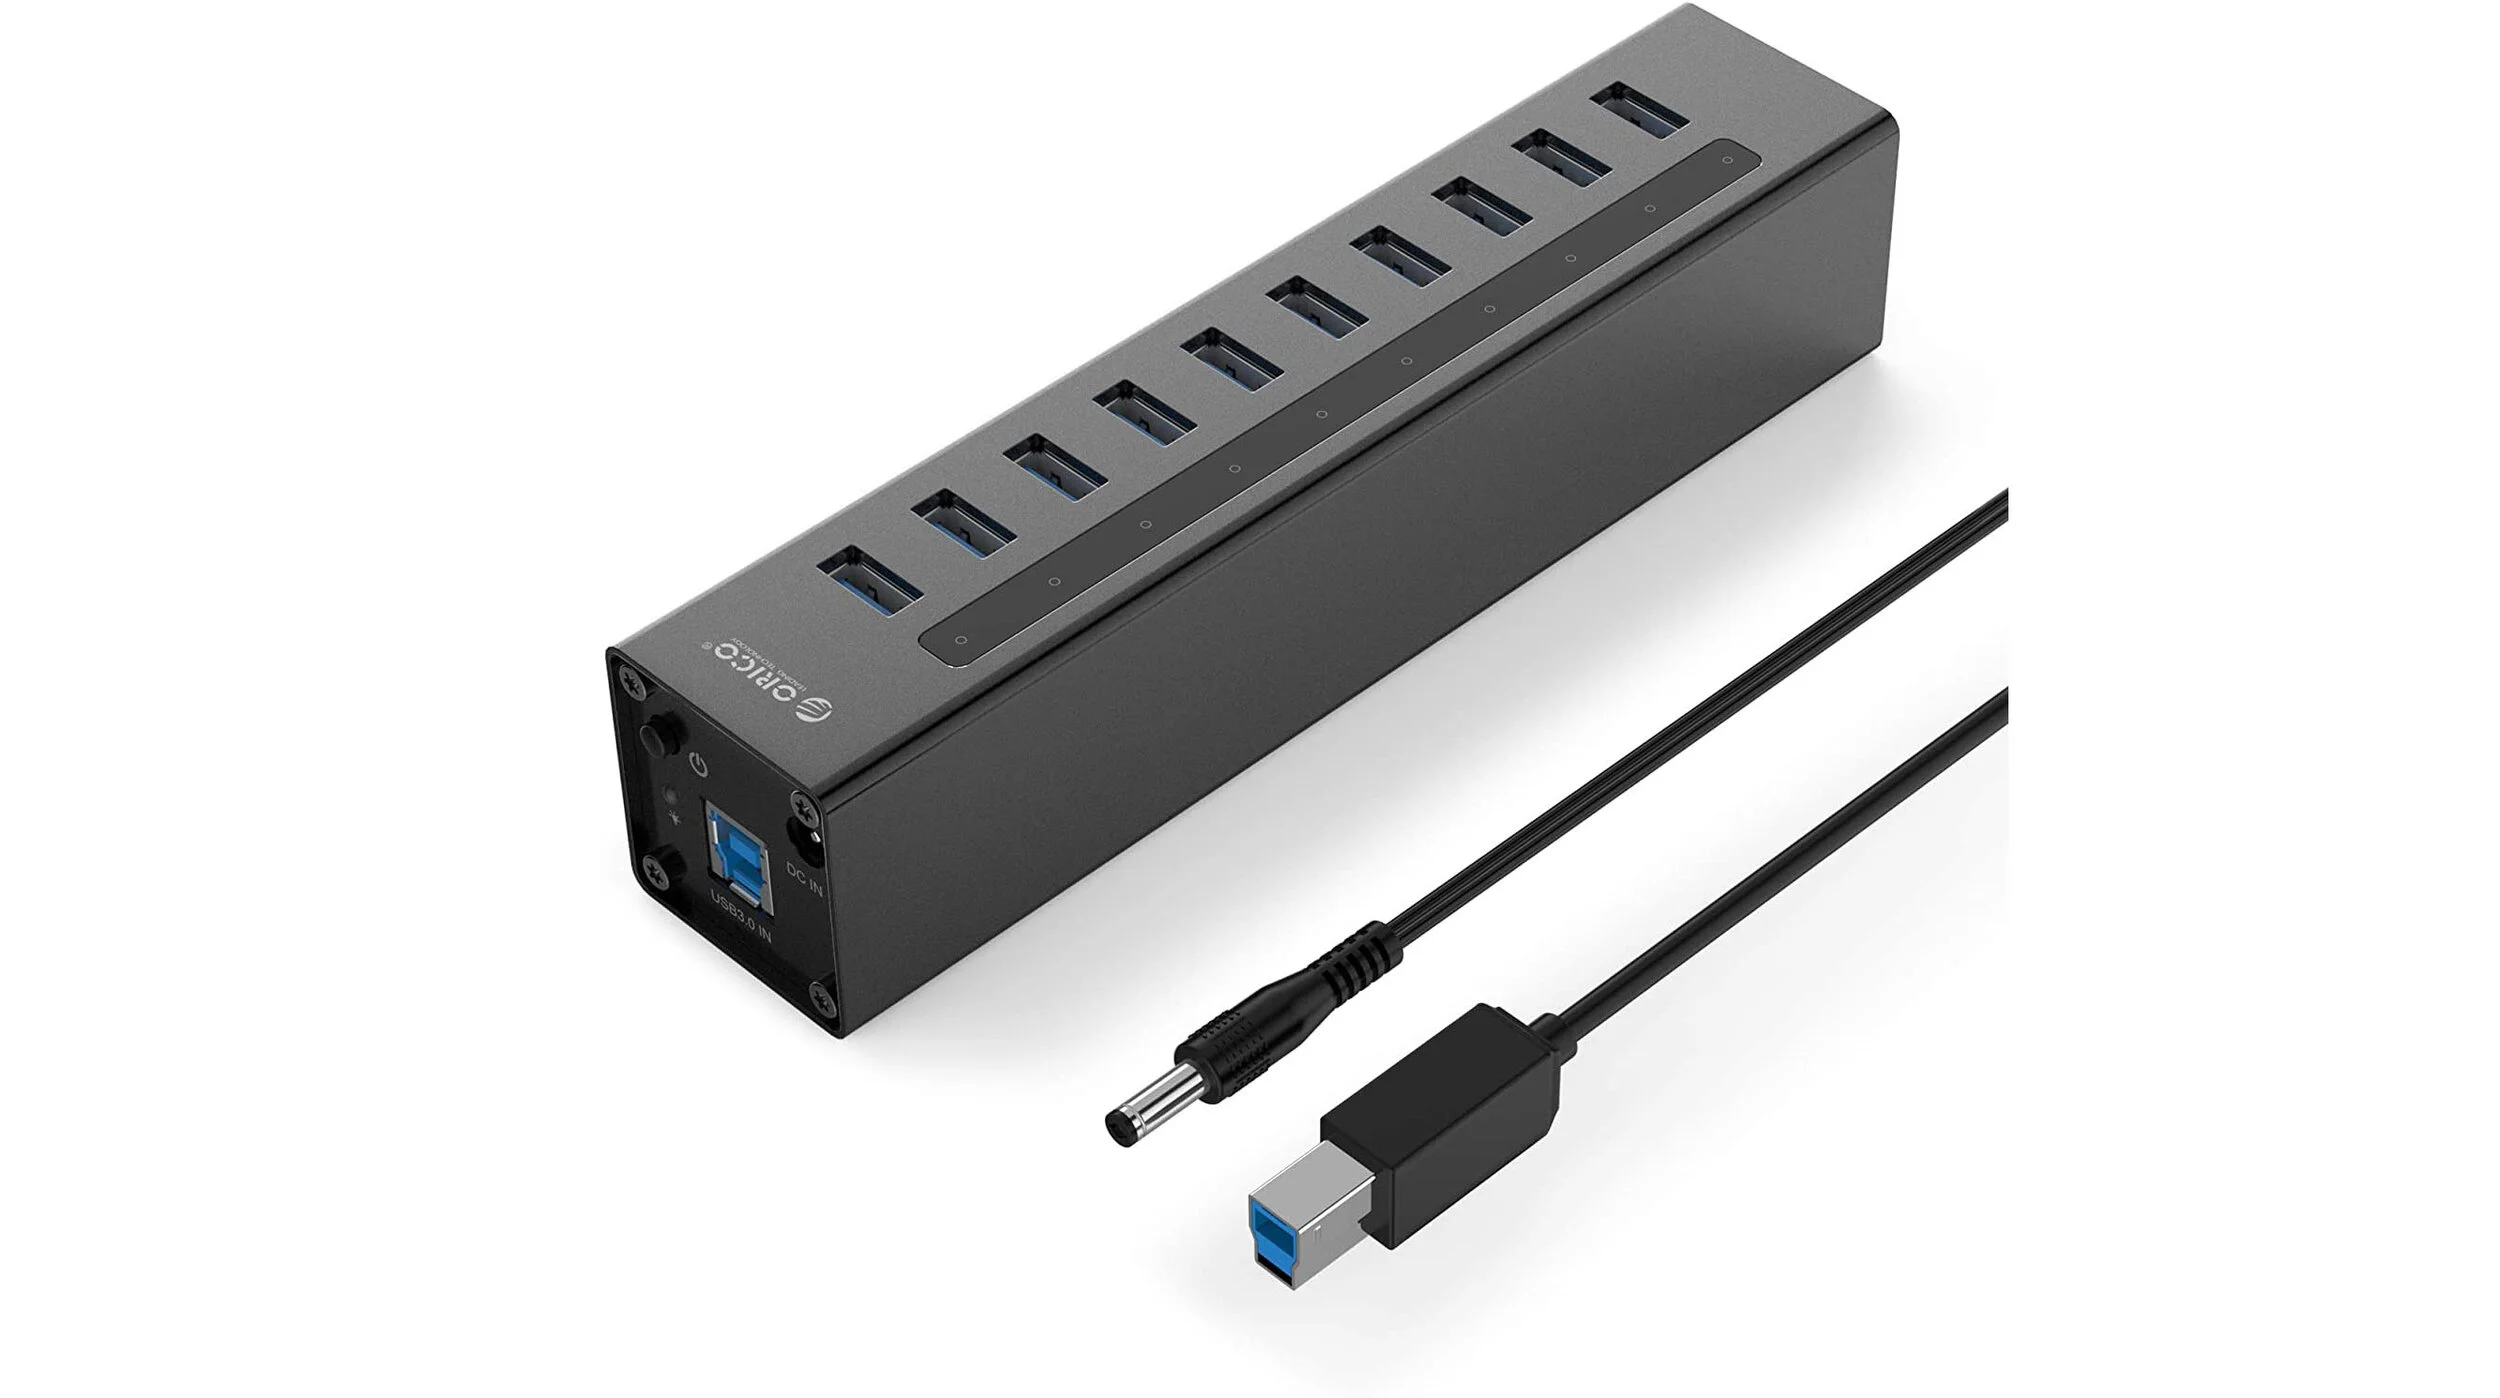
ORICO 10-Port Aluminium USB 3.0 Hub
All this may look like a ball ache but with some pre-planning I now have 1 connector from my MacBook to everything in my studio. I plug a Thunderbolt 3 cable to the Caldigit TS3 Plus, this then connects to my 4K LG monitor, Optical audio when required and to the USB-3 Hub where all my USB peripherals are connected. A Thunderbolt 3 to Thunderbolt convertor is used to connect the Caldigit to the Elgato which is turn feeds my HD colour grading monitor and Thunderbolt 2 cable daisy chains first to a Black Magic MultiDock TB2, then my Apogee Ensemble then thru to a single optical Thunderbolt 2 cable runs to my cupboard and connects to about 10 drives as well as a Sonnet SE-1 Thunderbolt 2 expansion chassis that holds UAD card as well as a USB-3 high data rate card for USB-3 drives.
At the end of my time in the studio I simply eject all connected drives and unplug one lead - the bonus is the MacBook is charged via the Caldigit TS3 hub, so I don’t even have to connect a power supply.
Job 3 - Noise
Now the million dollar question - you’ll hear all sorts of claims about using a MacBook Pro for studio work, including they are silent or conversely that the fans run at 100% all the time. Neither are true and with some thought you can have a MacBook Pro running in your studio and not know it’s there. Here’s how.
Community member Simon Nakra sent me this excellent video explaining how the MacBook deals with heat and cooling - it’s excellent and show you apps to help you control the issue.

I have installed all the apps suggested. Here is the list of apps he suggests help reduce heat and noise;
Secondly, we recently highlighted an issue with heat and noise associated with which port is used for charging the MacBook Pro. You can read the article here.
Another way a computer can become hot and subsequently noisy, as the fans kick in, is CPU intensive apps that can be running unnecessarily in the background. Two in particular are Dropbox and Chrome, both have the possibility to draw enormous resources and tax your CPU when you need all the help you can get. So help yourself by ensuring Dropbox isn’t syncing during sessions, you can read their own information on the issues here. Secondly make sure as many apps are closed during sessions to ensure your computer has as much in reserve as possible. There’s even an app for that in the form of Quitter, a handy app that closes unused apps when they remain unused - best of all it’s free.
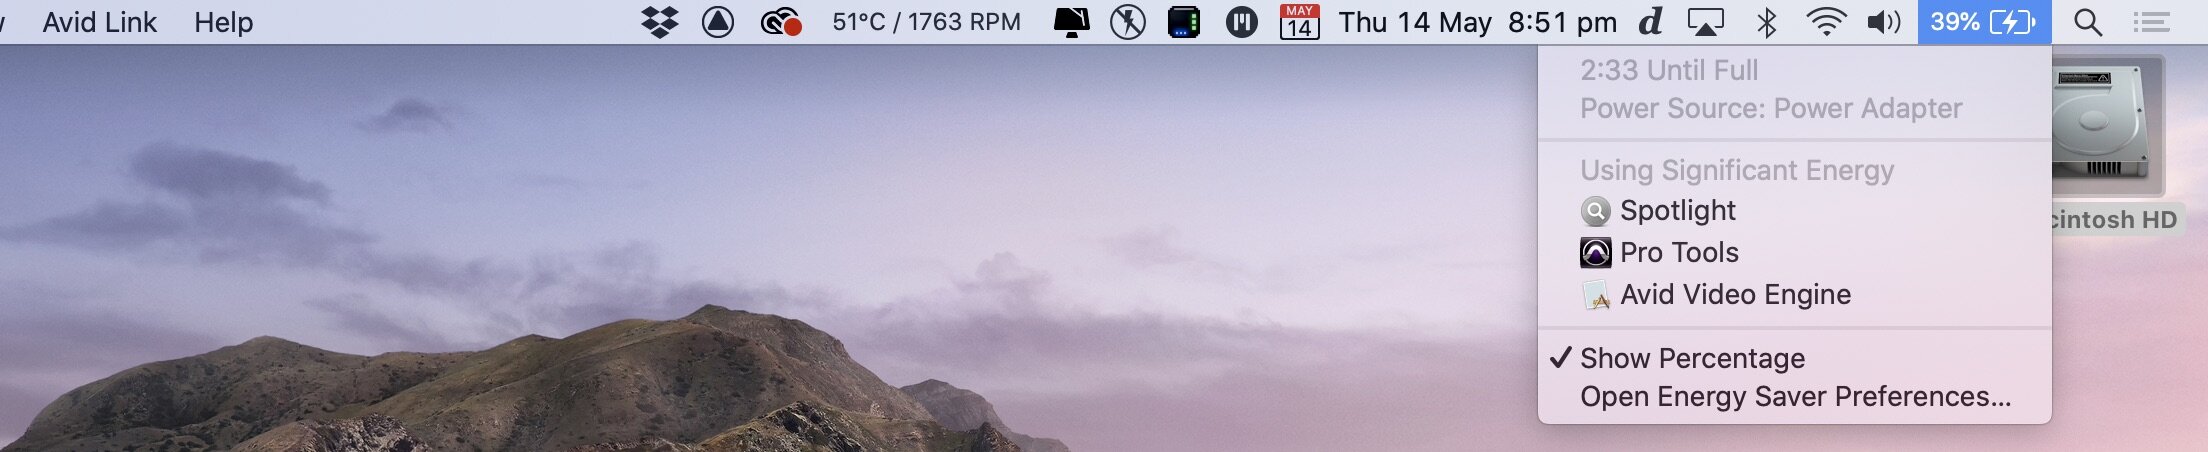
Your Mac can inform you about apps that are using significant energy, simply click on the power indicator on the top right of your Mac menu bar in macOS and it will tell you which apps are using the juice.
Apple Pro Mode May Be Coming To Help You Supercharge Your Studio Mac
Reports emerged earlier this year which highlighted that Apple may be introducing a Pro Mode into the macOS for those users wanting to maximise the power of their Apple Mac. This was first reported by 9to5 Mac on January 13th.
macOS Catalina 10.15.3 beta build contains references to a new ‘Pro Mode’ with strings in the code “Apps may run faster, but battery life may decrease and fan noise may increase” and “Fan speed limit overridden” when the Pro Mode is activated.

Image 9to5 Mac
This should then allow the fans to run at higher speed and reduce what is often described as thermal throttling.
Whilst in the context of this article this is almost counter-intuitive, if Apple allows users to make choices to maximise power and control the speed of the fans this would be an added tool in the arsenal and may reduce the need to rely on third party apps.
A Note About MacBook Pro Covers
I’ve always been a fan of the clip on plastic shells to protect my Mac from scratches and marks, however after talking at length with a cooling specialist I’ve now removed mine, why? The question came up as he was showing me cooling devices for Macs and I noticed that all of this Macs were sans covers. I asked if the covers hindered cooling and covered up the heatsinks. His answer is that the entire case of a Mac top and bottom is a heatsink and anything that covers it will reduce the Macs ability to cool, meaning the Mac will get hot faster and the fans will run faster… and faster means more noise. So help your Mac stay cool and don’t use covers in the studio. If you have to travel then keep them in your travel bag for the times you need to travel and clip them on for just those times.
The Magic Bullet For Using A MacBook Silently In The Studio
Sometimes the way to fix a problem is practical as much as it is technical. One thing I’ve learnt having a Mac Pro is that the fans even kick on on them when presented with CPU intensive tasks, this has been fixed by it being in a cupboard with ample cooling and so the problem goes away. If the fans want to run all day then that’s fine. Anyone who has ever been in a machine room in a large studio will know why they have them, the noise can be deafening as all the heat intensive gear stays cool, it’s the practical way to have hot noisy gear in a studio.
So I asked myself this question, if I can do this with a Mac Pro then why not do it with my laptop?
IKEA cupboard using slide out clothes racks to aid cooling of around 10 Thunderbolt and USB-3 drives
In a word the magic bullet to running a silent studio with a MacBook Pro is clamshell mode. This is achieved by connecting external monitors, bluetooth keyboard and mouse and power - all of these are part of my set-up. This means the MacBook can live in the same place as my Mac Pro and if the fans kick in then it doesn’t matter, furthermore to aid cooling the MacBook sits on a stand to allow for the best possible ventilation around the machine. Of course you can also use this solution for the Mac mini too, which may also suffer from the same heat and noise issues as a MacBook or MacBook Pro.
Summary
It’s early days in terms of finally deciding to kick my trash can to the curb (see what I did there?), it’s not going because it lacks power or for any other reason than the sheer practicality of having one Mac for both studio and mobile.
The new MacBook Pro certainly has the power and by making smart choices about peripherals and thinking practically about where the MacBook Pro lives when I’m working in my studio, it looks and sounds like I have a workable solution. One cable connection to the Mac and shut the door to the cupboard it lives in and there’s a powerful mobile studio solution and the sound of silence.
The penny really dropped a couple of days ago when I’d been working on something in my kitchen and then went over to my studio. As the screens came to life in the studio I couldn’t for the life of me work out how the same project was on two machines. Then I realised it was the same machine and smiled to myself, it’s the same computer. The original objective has been achieved, one machine and less duplication of resources.
I’m now considering investing in an eGPU solution for the Mac to take some of the graphics heavy lifting off the MacBook Pro, but even without that addition, early results may have proved this experiment a success.
I need to say a special thank you to many people on Facebook who gave me advice about this issue in the last week - there are rare moments when social media shines. This was one of them.
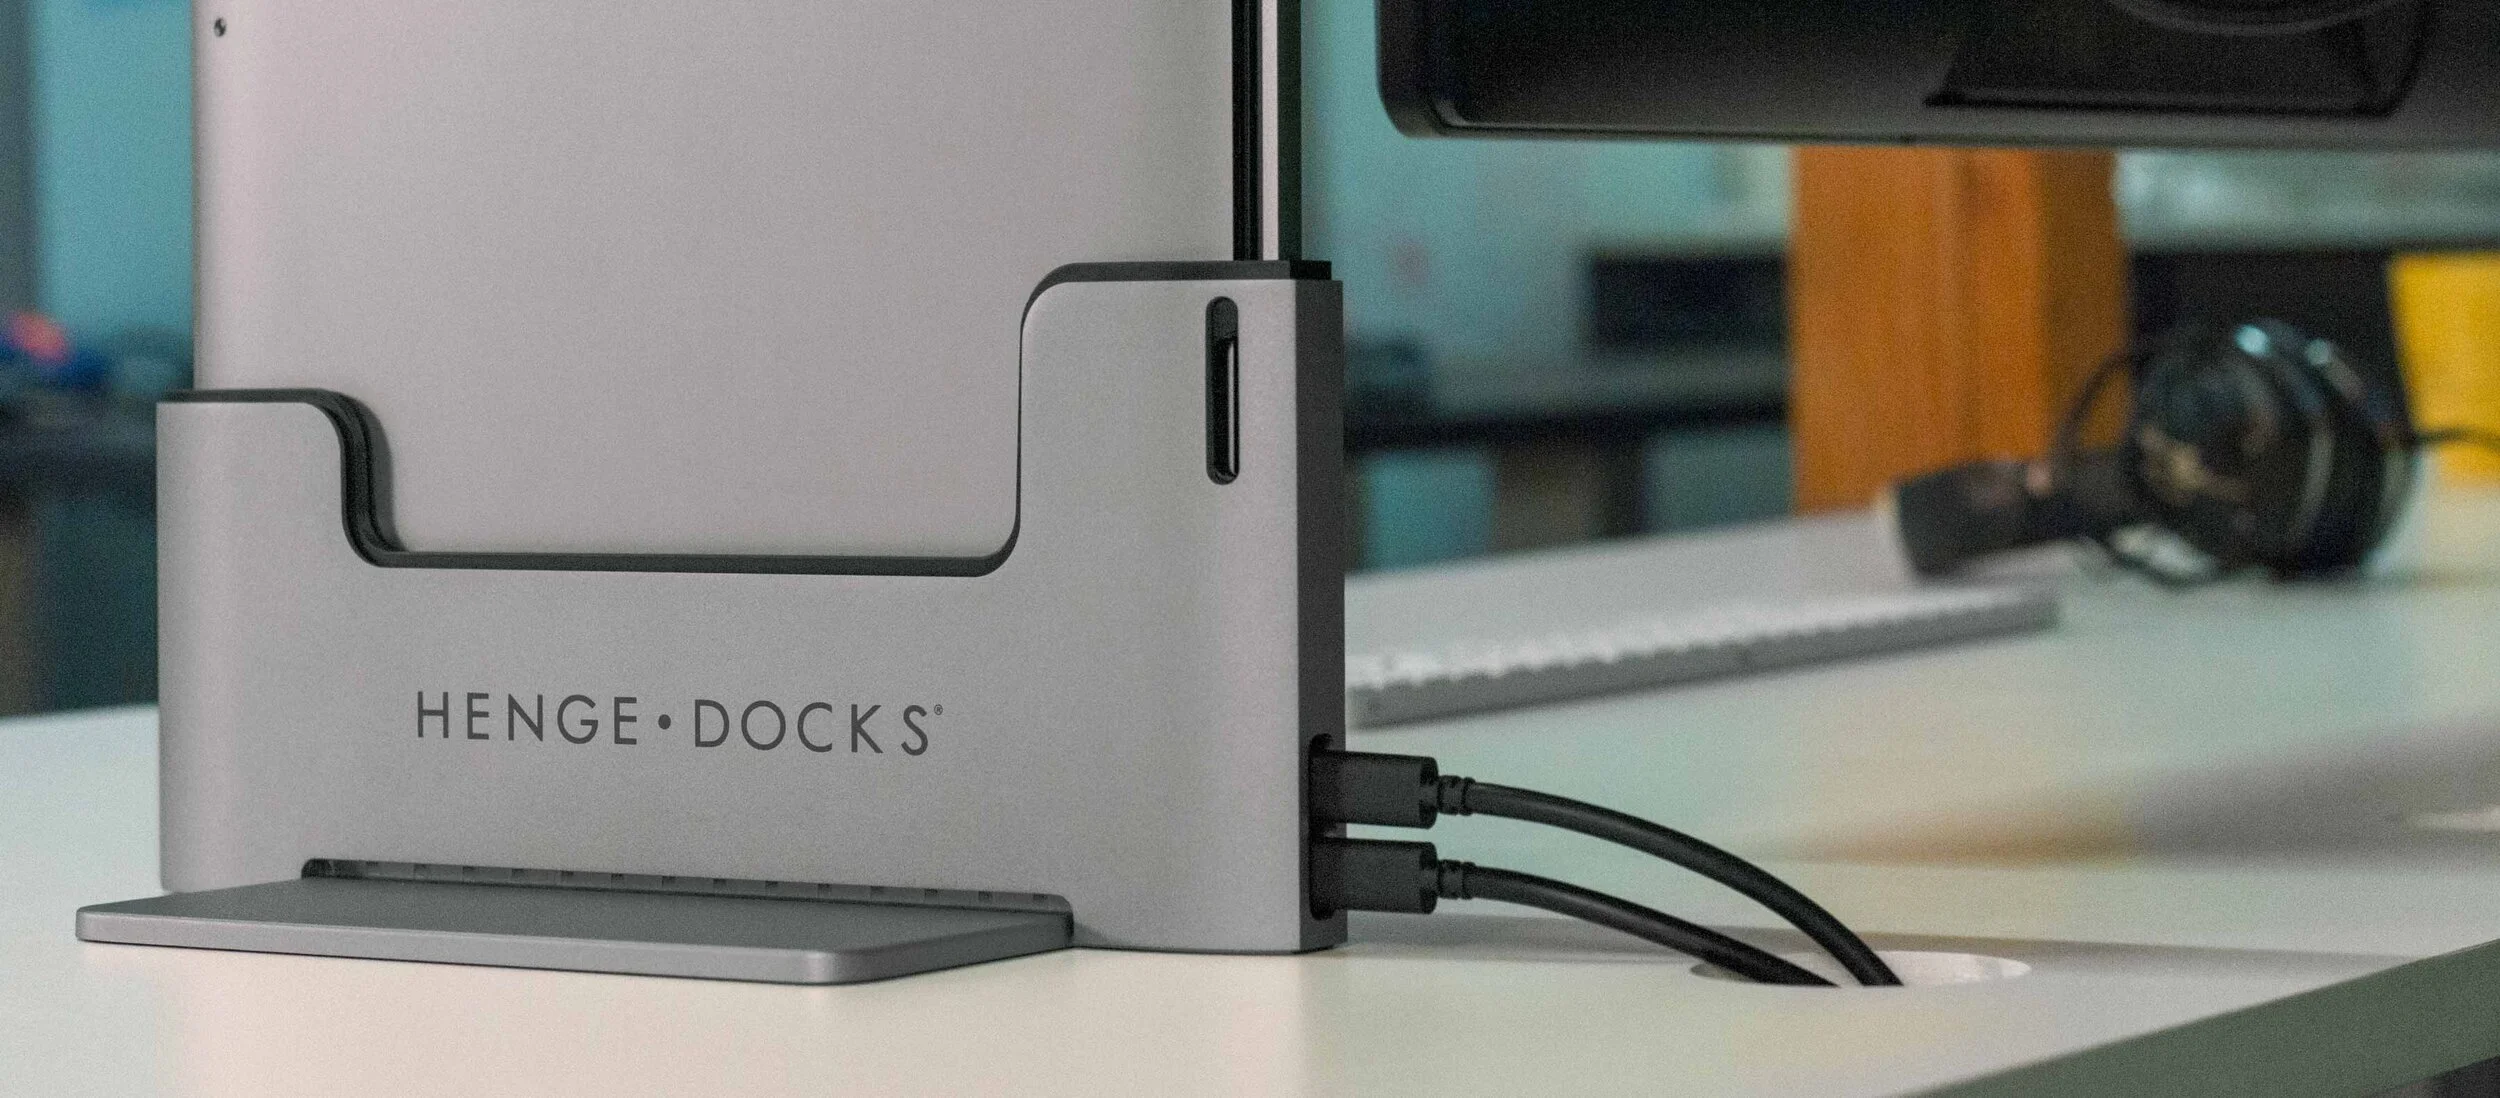
Henge Docks are just one of the practical stands for using a MacBook in clamshell mode.