
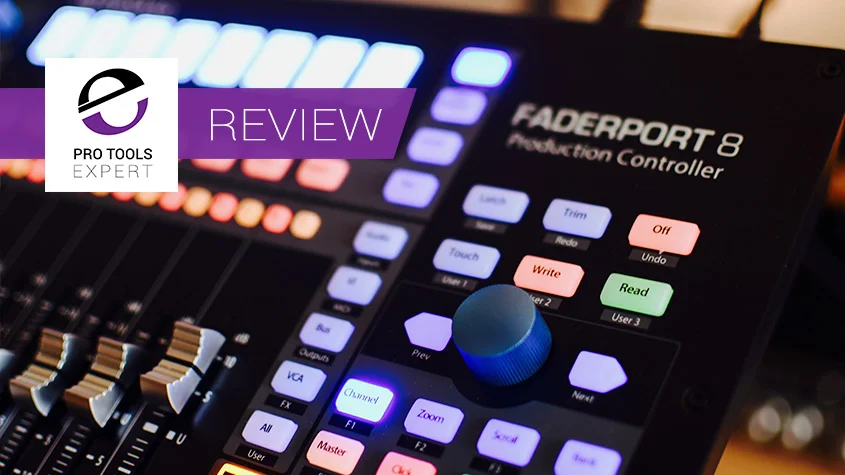
When PreSonus announced the new Faderport 8 Production Controller there was a lot of interest from not only the Studio One community but also from users of other DAWs, particularly Pro Tools.
Faderport 8 is a new compact control surface, with a price tag of $599 and an estimated street price of less than $500. It offers support for most popular DAWs including Pro Tools.
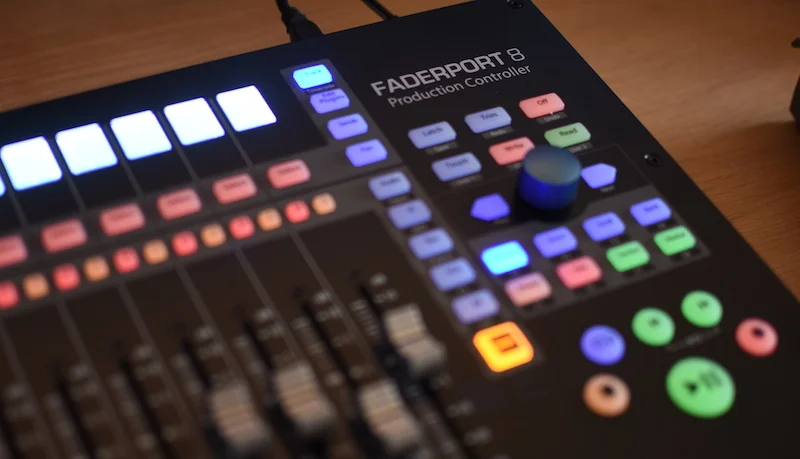
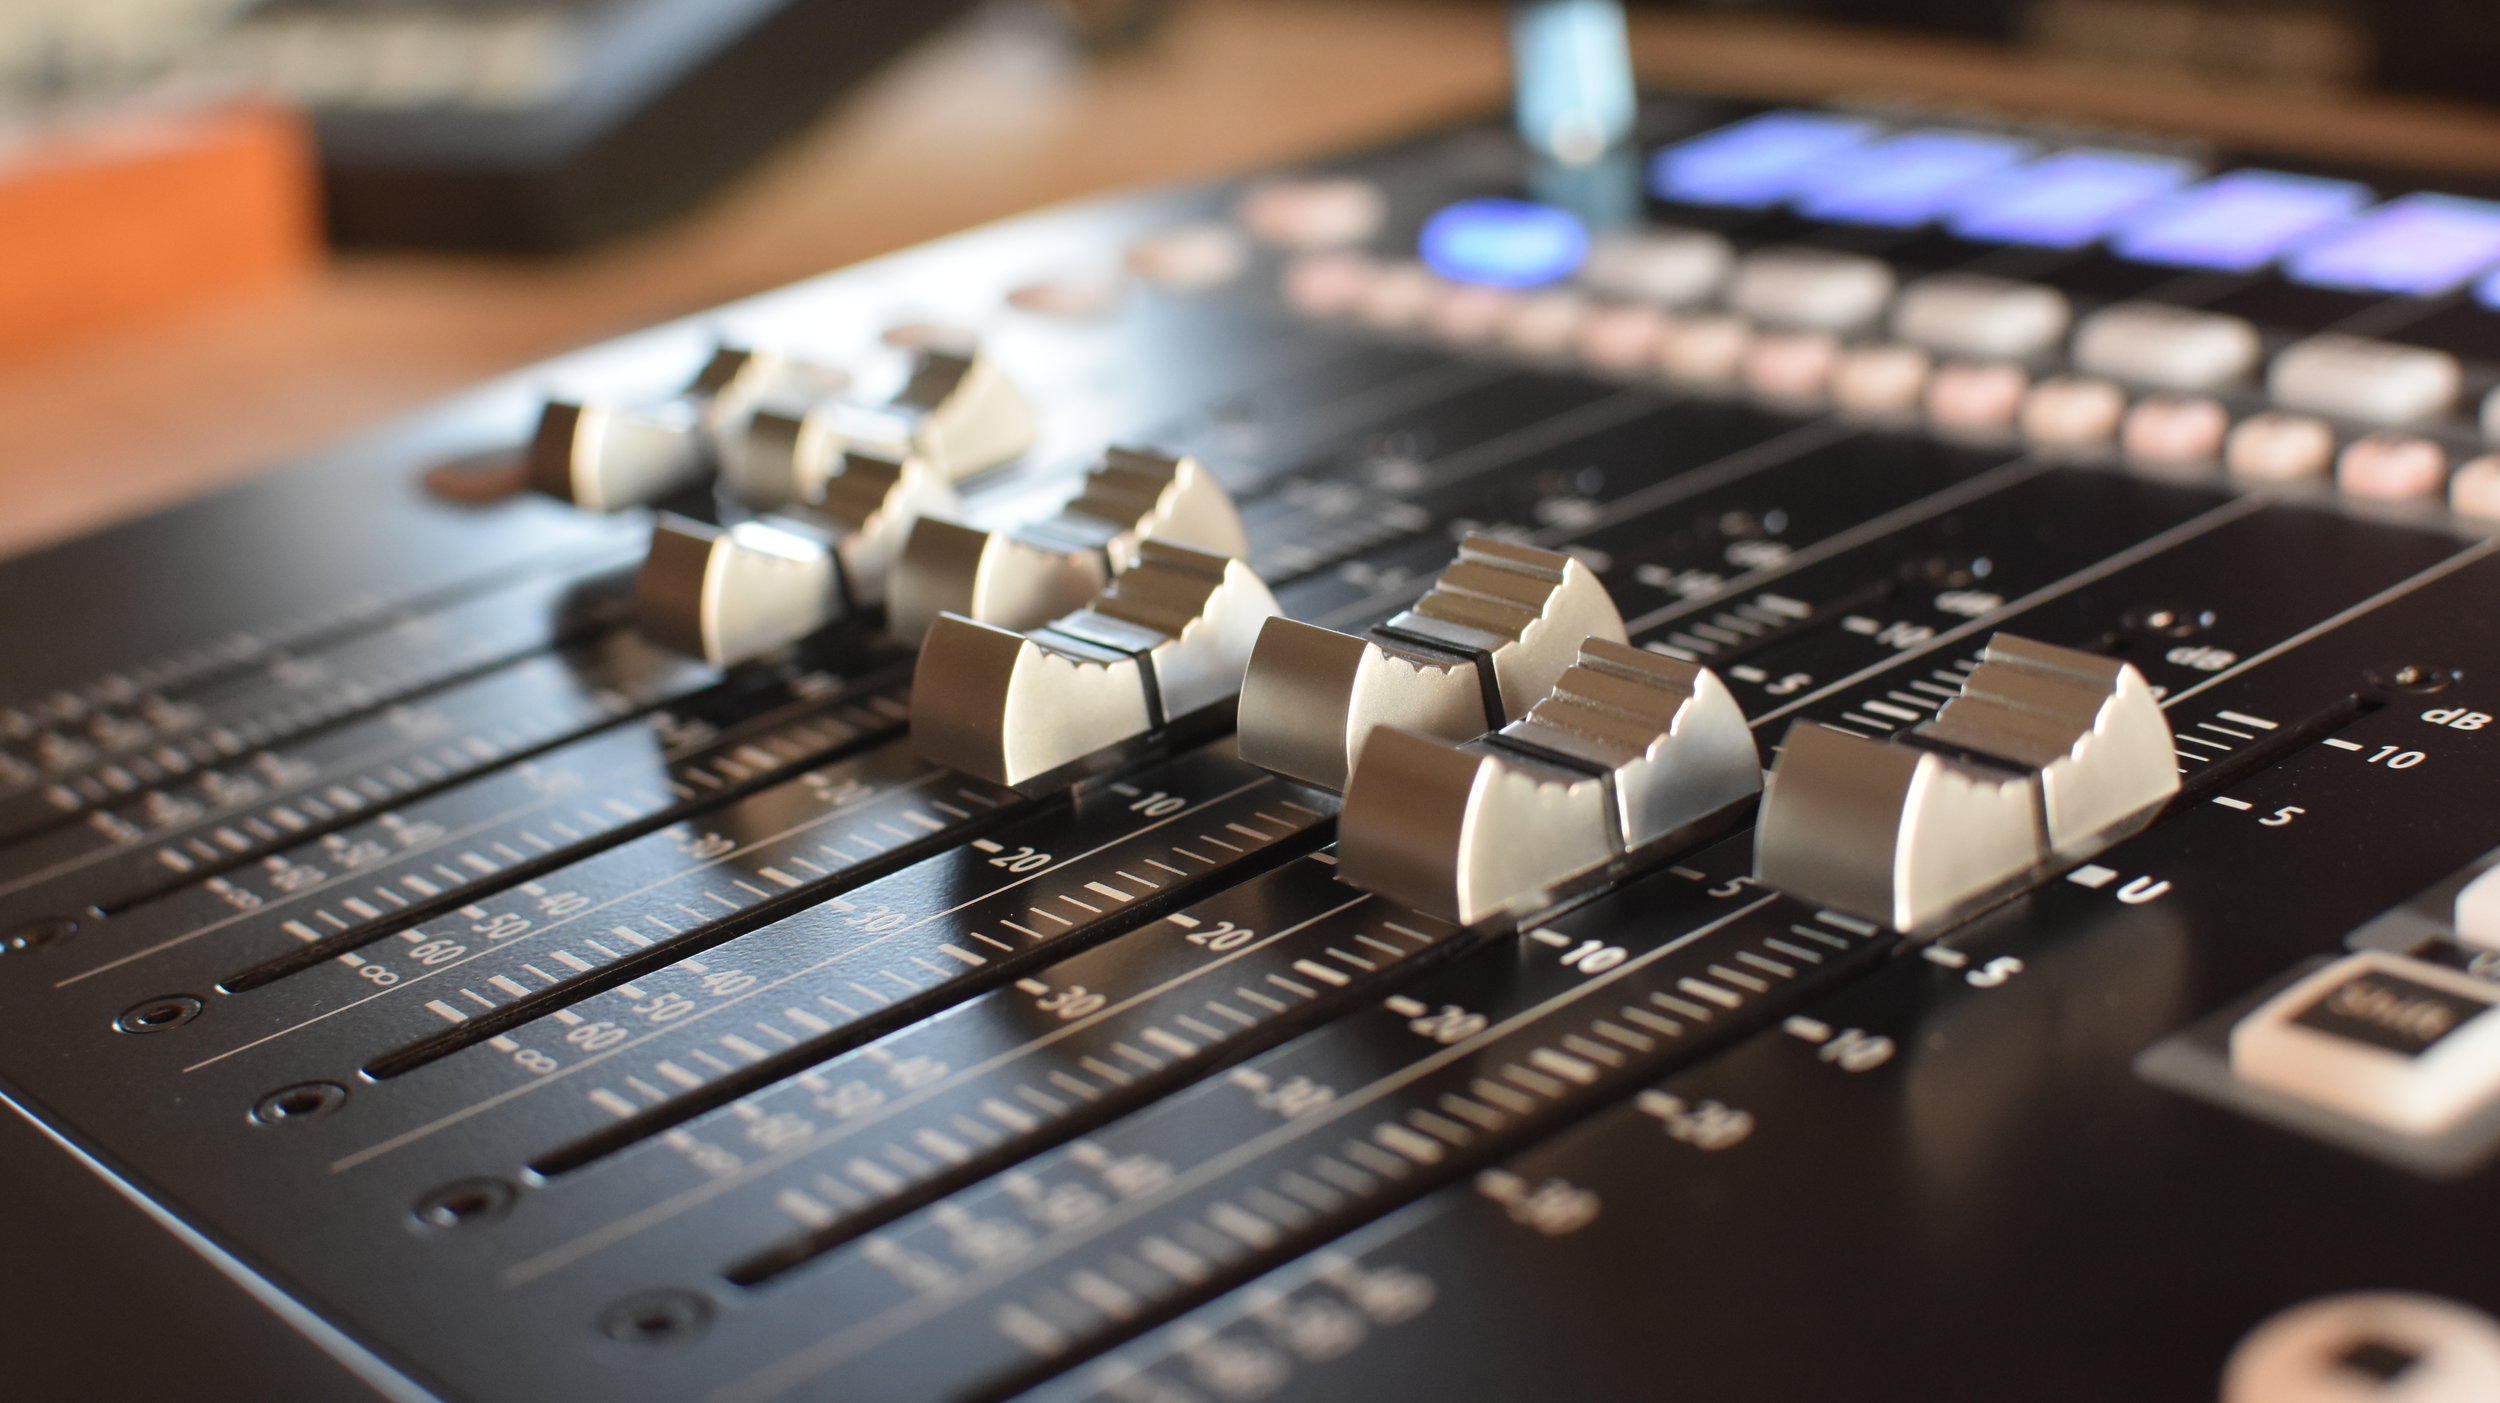
Faderport 8 includes 8 touch-sensitive, motorised, 100 mm faders and 57 buttons covering 78 different functions, quickly zoom in on audio files for editing, adjust your click-track tempo with a simple tap, modify plug-in parameters, manage aux mixes and, of course, control track levels with the touch of a finger.
We have been fortunate enough to have had a pre-production release for several weeks at Pro Tools Expert, partly so we could test the HUI functionality with Pro Tools. That said, the version we have for review does not have the final firmware and software so there may be features added before release.
This review is aimed squarely at Pro Tools users looking for an affordable control surface for use with Pro Tools. A review around its native integration with Studio One will appear on Studio One Expert soon.
Setting Up the Faderport 8 For Pro Tools
Setting up the Faderport 8 for Pro Tools is a cinch, it is a 4 stage process:
Download and install the Universal Control software from PreSonus.
Plug in the USB cable and power, using the supplied PSU.
Hold down the Select keys on Channel 1&2 of the Faderport 8 while powering up, select HUI (Channel 3) and then hit the last (Channel) Select key to restart the unit.
Open Pro Tools, go to Peripherals, select MIDI controllers. Select HUI as the Type and then Receive and Send is 'Faderport FP8', number of channels is 8.
That's it. You are good to go.
The Faderport 8 In Use With Pro Tools
The HUI implementation is quite comprehensive for Pro Tools users, in fact Dominic at PreSonus helpfully created this information for me:
Faderport 8 and ProTools (HUI) Workflows Fader Assignment modes:
Track - Faders control Volume automation: Select will select a channel
Edit Plugins - Enter “Edit Plugins” mode: See section at the bottom
Sends - Enter “Send” control mode: See section at the bottom
Pan - Pan control flipped to faders: By default will control left pan of any dual pan channels: Press Shift and Pan will be assigned to right Pan in ProTools (Dual Panning)
Modifiers
Shift - The only modifier which is local to the FP8 itself. This will not function as a DAW modifier.
Modes
Channel - Scroll by channel
Zoom - Horizontal Zoom with big encoder or "Prev" and "Next" buttons
Scroll - 1st Press = Audio Scrub, 2nd Press = Faster Audio Scrub
Bank - Bank by 8 channels
Master - Assign Master Fader to big encoder knob (not working)
Click – Turns click on and off (on our test model Pro Tools must be the app in focus for this to work)
Section - No Function
Marker - Engage Marker mode; Press big encoder knob to drop a marker. Marker Menu opens, press again to dismiss. "Prev" and "Next" buttons
Automation Modes (All work as labelled)
Latch Trim Off Touch Write Read
Edit and User Modes
Save - Save
Redo - Redo (but currently does Undo as a bug)
Undo - Undo
User 1 - Arrangement
User 2 - Mixer
User 3 - Transport
Function Buttons
F1 - Clears Clip and Peak Holds
F2 - NA
F3 - NA
F4 - NA
F5 - NA
F6 - NA
F7 - NA
F8 - Toggle between Smart Tools
Transport Controls (Work as labeled)
Play/Pause - Toggle Play/Stop of Transport
Stop - Stop Transport
Record - Record Ready; Press along with Play to engage Record mode
Rew - Single press advance by Bar, Second, Frame, Base Samplerate (e.g. 44100)
Press and Hold to advance by finer increments
Fwd - Same as Rewind
Return to Zero ( REW +FWD) - Return to Zero
Channel Controls
Solo - Solo
Mute - Mute
Solo Clear - Solo clear (8 currently focused channels)
Mute Clear - Mute clear (8 currently focused channels)
Record Arm - Enable Record arm mode; Press channel select buttons to engage record arm per track
Record Arm All - Record Arm all tracks in session
Bypass - Bypass a plugin in Edit Plugins mode
Macro - Compare plugin settings in Edit Plugins mode
Link - Used in Edit Plugins mode to enter "Assign Plugins" mode; can select plugins to instantiate on channel slot using the fader and "Select" button to commit.
All - (Shift Bypass) NA
Open - NA
Lock - NA
Sends
Press "Sends" button to enter Sends mode
Sends slots A - E will be listed in the Scribble strips (This is the most HUI supports)
Press the "Select" button of the lettered Send slot you want to adjust
Use Fader to adjust the Send level per channel
Pan/Param knob will adjust Send Slot for the currently selected channel
Pressing Track will exit from this mode
Pressing "Select" button assigned to "ESC" will exit from Sends mode.
Edit Plugins
F5 switches between "Velocity Sensitive" and "Fixed" modes
"Velocity Sensitive" means parameter selection is based on how fast you move the fader in Plugin Edit mode
"Fixed" mode means you can scroll through the entire range of a parameter.
Press "Edit Plugins" button
Faders 1 - 4 are now assigned to control parameters of focused plugin
Select buttons 1 - 4 are assigned to button switches in focused plugin
Pan/Param knob switches paging of 4 fader assignments to all parameters of a plugin.
Scribble strip shows the parameter assigned to fader and above that to the "Select" button if applicable.
"Link" button is the "Assign Plugins" button
Inserts 1 - 4 are shown for the currently selected channel
Pan/Param knob pages to Inserts 5 - 8
If plugin is not focused user will see "Press Insert Select of channel" message
Press "Shift" and all "Select" buttons turn yellow.
Press the yellow "Select" buttons to enable "Insert Switch" of a channel. You will see the name of the channel after pressing the yellow "Select" button. You can also bank/scroll channels to any channel in mix.
Press "Shift" again to exit "Insert Switch" selection and return to the Insert view of the channel that was selected in "Insert Switch" mode
If a plugin is assigned to an insert slot, press the Teal coloured "Select" button of the insert you want to edit.
If a plugin slot is empty, move the fader for that insert slot to scroll through the list of available plugins to assign.
Press the "Select" button when selection of plugin is chosen to commit and assign the plugin to that insert slot
Red "Bypass" button "bypasses" focused plugin
Red "Macro" button "compares" plugin changes
Summary
The Faderport 8 works as expected (even this pre-release version) performed well. The HUI integration is comprehensive and should meet the needs of most users. The Faderport 8 can be used both in tracking, with options to arm tracks, set the click etc. as well as in mixing with all the features needed including all automation options such as Write, Latch, Touch etc.
The faders are as quiet as any I've heard on other units and in fact a seem a lot less noisy than the rattle of some I recall on units like my old Digi 002 and Command 8.
You can move between fader channels by channel or bank them in sets of 8 if you wish. Some have asked about the inclusion of a Master Fader and for those using it with DAWs other than Studio One, the Master fader is allocated just like any other channel.
So is a control surface with 8 motorised faders with Pro Tools compatibility at this price any good? In a word YES! I found the build quality high and operation under HUI comprehensive enough to suit the needs of most people.
Should you buy a PreSonus Faderport 8 control surface? If you are looking for a control surface then this should be on your list to check out, but the only advice I would give if you want one is to get in line soon. I think this will be a huge hit!
Street price is expected to be around $499 and it is shipping soon.