
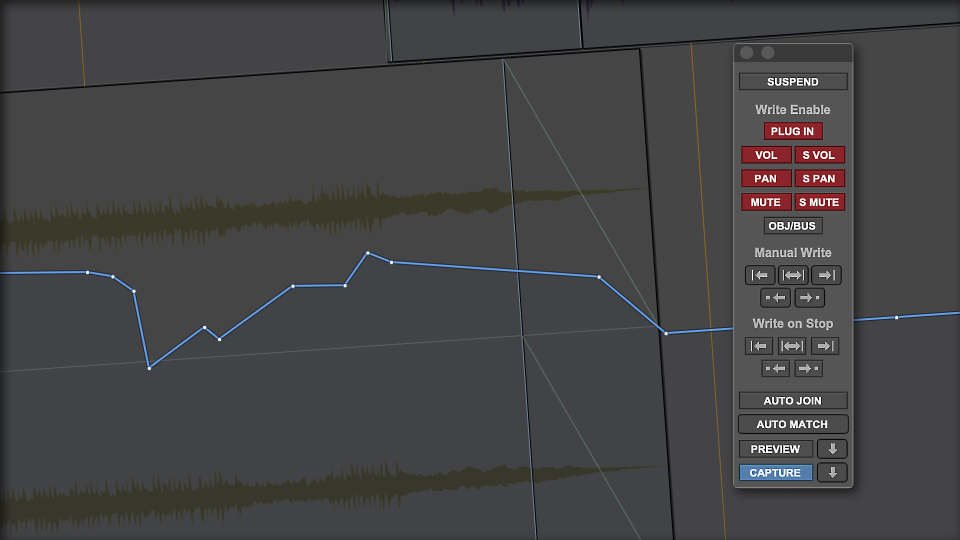
Whenever I walk into a mix room with young engineers, or with mixers who don’t normally use advanced automation, it’s always the Pro Tools Capture automation function that seems the least understood. I see a lot of mixers using Preview, but for this article, I want to focus on a few scenarios where Capture really comes in handy in my own workflows. And perhaps that will help you as you expand your mixing skill set. For this to be useful, I’m going to list a few assumptions about how your session is setup. If you want to try these Capture workflows do the following preparatory work:
Check “Plug-in Controls Default to Auto-Enabled” in preferences. If you have any plug-ins instantiated before you set this preference, go to each plugin’s automation window and set all parameters (or as many as you think is useful) to the right column using “Add.”
Track automation mode can be set individually, track-by-track with a surface or the mouse, but my favorite way to switch modes in a session is globally. So learn the easy workflows of Option-Touch, or Option-Latch which puts every track into an auto-enabled mode (following Pro Tools’ conventions, Option-Shift-Touch or Latch does only the selected tracks if you prefer).
Buy a control surface! While you can try these examples without a surface, it’s a little tedious.
Scenario 1: Roughing-in a big mix quickly
On TV commercials, or on the cold open of a television show, or even right after the commercial break, there’s often a lot of content on a lot of tracks, and the general levels and EQ and reverb sends are likely way out-of-whack. To work quickly, don’t be too precious about this first-pass. Go to the start of the scene, press Option-Latch, and then hit play. Everything is wrong, but that’s okay. Start adjusting levels, pans, sends, EQs, etc., but don’t stop playing, keep going. Then after about 45 or 60 seconds, you might realize that it doesn’t sound terrible, maybe tweak a little more, and when it starts to sound halfway there, press Capture while the transport is rolling. Then hit stop, locate back to the top, and hit Punch Capture, and all the good things you were doing at 60 seconds-in are now being written from the top. Keep going until where you last stopped. And at this point, you might decide to get finicky and go into Touch mode and use Preview etc., but the point of this workflow was just to rough-in as much as possible in a fast way.
Scenario 2: Picking up where you left off
You’re working on a long-form mix with a client, some of your tracks are in Latch, and you’ve been adjusting levels during the viewing of a long scene. Perhaps a couple of your VCAs and some tracks are currently writing automation. Suddenly, before the end of the scene, the client says, “Stop there, I want change one thing!” But you’re nowhere near the end of the scene, and you have great automation going that needs to be written to the end of the scene*. Before hitting Stop on the transport, hit Capture, then Stop. Make your client happy and change the one thing they heard. Take as much time as you need. Then on the next play pass, hit Punch Capture and everything that was writing in Latch earlier will switch back to Latch and continue until the end of the scene.
Scenario 3: Clone that mix
This scenario is equally useful in post and music, and it’s one that I wish music mixers would take more advantage of. You’re working on the second chorus in a song (or you’re working on a television scene that is similar to one you mixed earlier in the same television program). It would save a lot of time if you could simply copy all of your automation parameters from the first chorus to the second. Press Option-Touch or Option Latch. Locate to the first chorus, where it sounds really good. Hit Option-Capture (on a big mix, this will make Pro Tools beachball for a moment, don’t worry, that’s normal). Now select the duration of the second chorus, hit Punch Capture and then Write Automation to Selection.
Scenario 4: Nuke your mix in three easy steps
This scenario is especially useful if you want to use a finished Pro Tools session as a template for other similar work in the future. The goal is to preserve all the plug-ins and routing and tracks, but get rid of any automation in the session so you can start fresh (and you may want to remove all audio from the session first, if this is going to be your new template). This is very simple: hit Option-Touch, then Option-Capture, and without making a selection, hit Write Automation to Selection. This will blow out every node on every track to the start of the session and to the end. Very useful, and very dangerous in the wrong hands.
There you have it. Four scenarios that I run into nearly every week. Please comment below if you have any better ways of doing this, I’m always eager to learn how other people work. And note that everything I’ve written about here can be applied to the Pro Tools’ Snapshot feature. But that’s a topic for another article in the future. Thanks for reading.
*if you have no downstream automation that you need in this session, you can alternatively hit Write To End before stopping the transport. This is a much faster solution to Scenario 2, but it assumes that you can blow out everything currently writing beyond that point. Dangerous!
