In this article and video for Production Expert, James Parades takes a look at Zynaptiq MORPH 2 - a real-time plug-in for structural audio morphing, that opens up a whole new world of sounds exploration possibilities.
What Is Zynaptiq MORPH 2
MORPH by Zynaptic is a plugin that allows you to morph two input signals, and gradually shape one sound into the other which creates a transition with intermediate stages that have characteristics of both source sounds. The technology behind Morph goes back to the 80s where one of their scientists Stephan Bernsee created the world’s first audio morphing algorithm. From this research, other highly regarded morphing algorithms were developed such as the Prosoniq’s sonicWORX series of sample editors and the morphing synthesis engine in the Hartmann Neuron synth.
How Does Zynaptiq MORPH 2 Work?
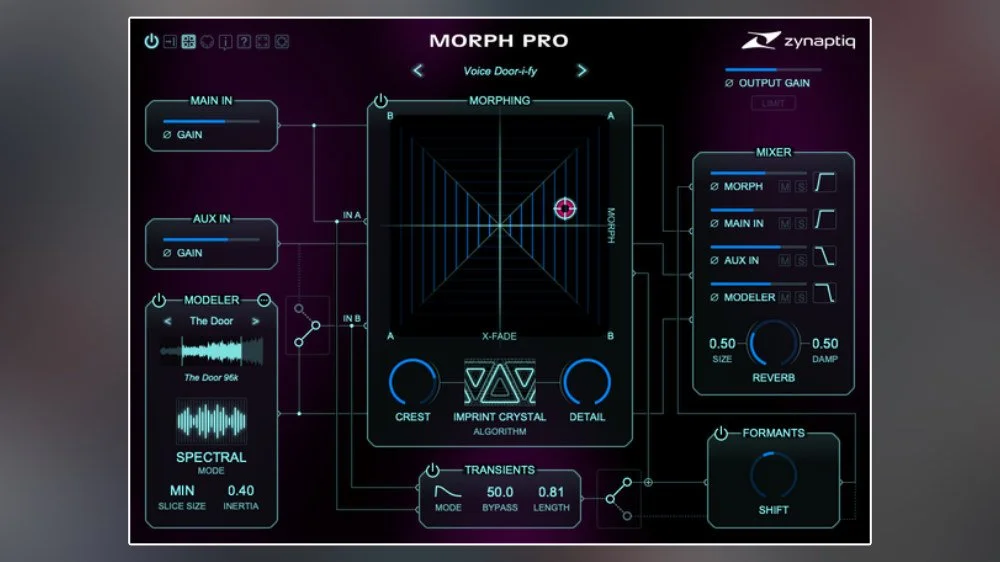
You insert the VST3 plugin on a track (lets say a pad sound on track 1). Then on another track (let’s say drums on track 2), you send track 2 to the sidechain of the morph plugin on track one. So in the plugin in the mixer section, you will have a pad on mix A and drums coming in on Mix B. Then you morph.
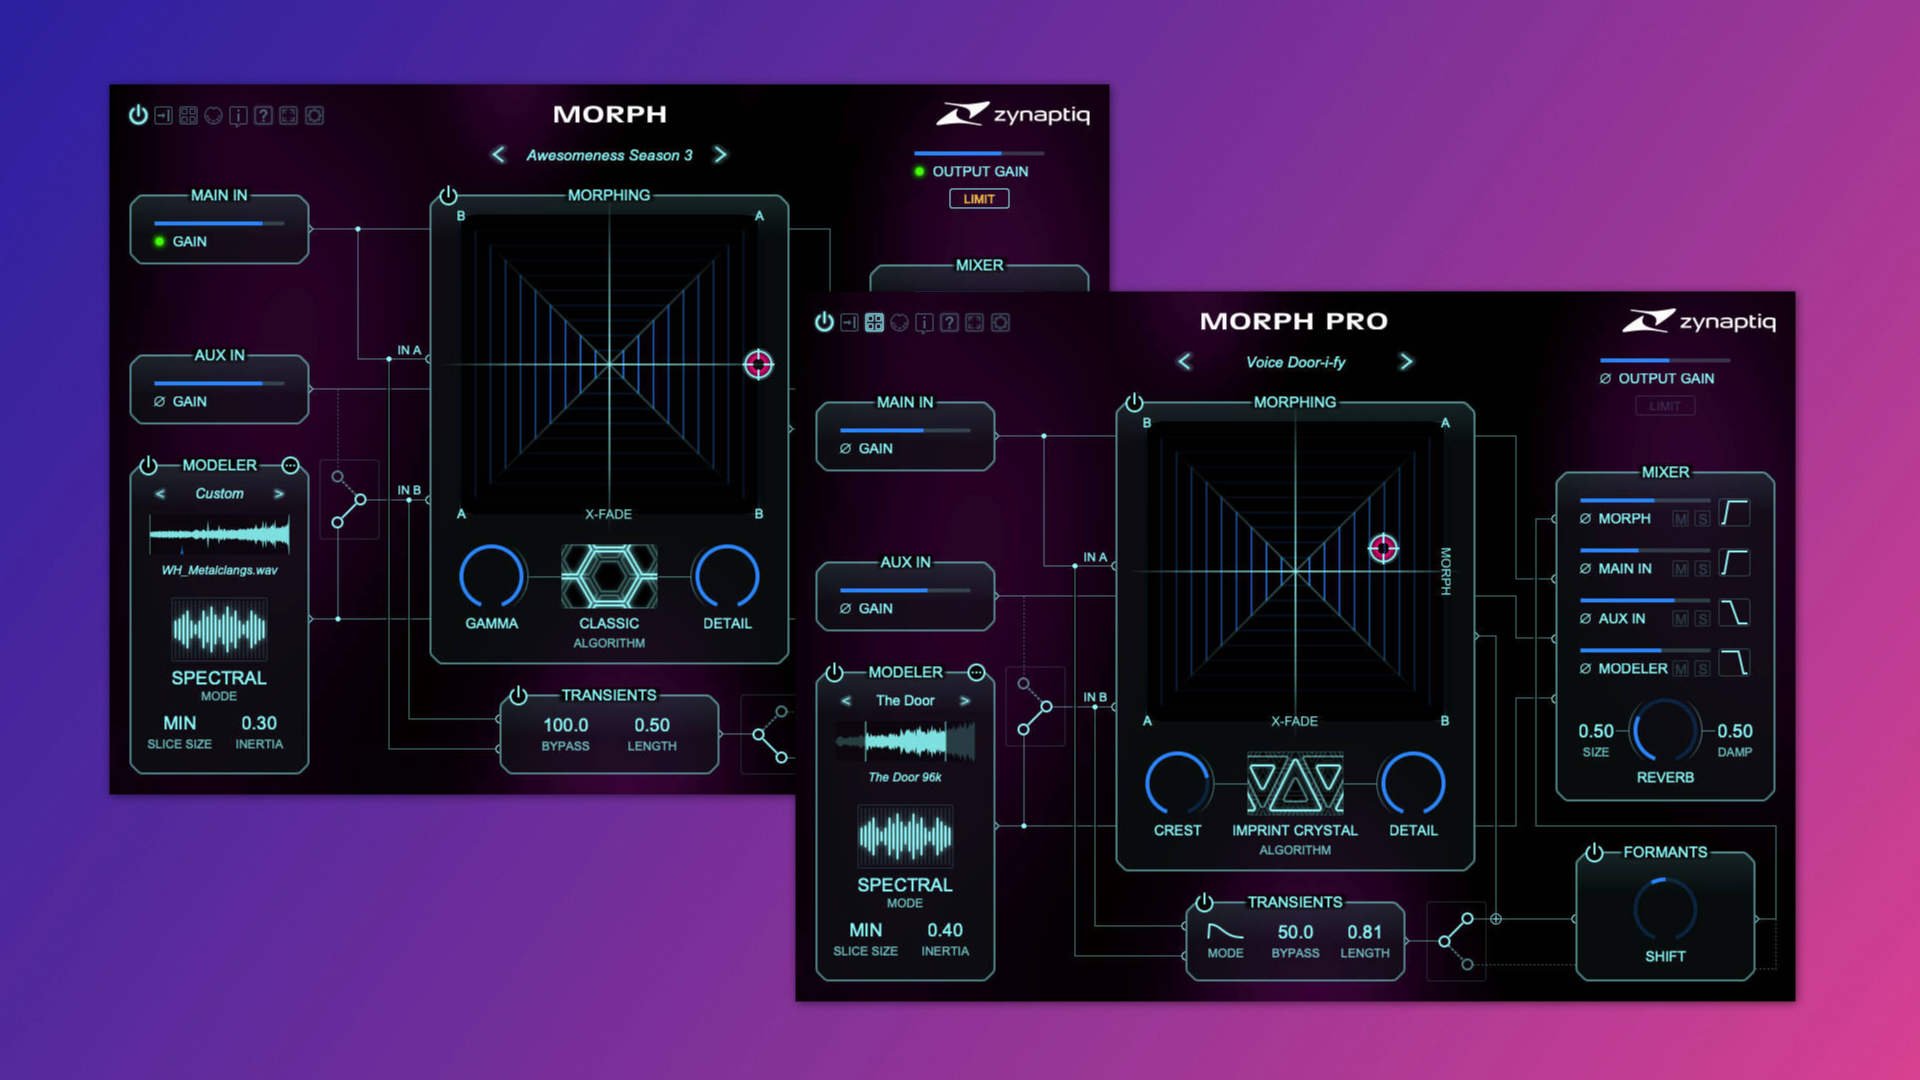
The controls are simple but yield dramatic results. You have a series of presets but to be honest, everything is so immediate, I see little use for them. Just below you have a set of algorithms each giving different characteristics to the processing.
In the processing section amp sense adjusts the maximum level of combined sound features. Next is Formants which shifts the formants up or down and then Complexity which alters the level of detail in the sound.
The main part of the plugin is the XY morph index and crossfade. This is where the fun stuff begins and sounds take on an entirely new character. Moving the target from left to right (A to B) crossfades the sound just like a DJ mixer. However, moving the target on the vertical axis blends Mix B into Mix A (Drums into the pad). The results are frankly astonishing and for sound designers, a real treat. Likewise, when moving the target from the top left hand corner (B) downwards in to A, the drums and pad blend in a different way again.
To smooth out the sounds further you have a rather nice sounding reverb section with basic controls to get a nice sounding reverb immediately. You’ll be tempted to keep boosting the reverb so just remember to reign it back a bit as it may cloud the mix.
Check out James’ video, and head over to Zynaptiq’s website for full details.