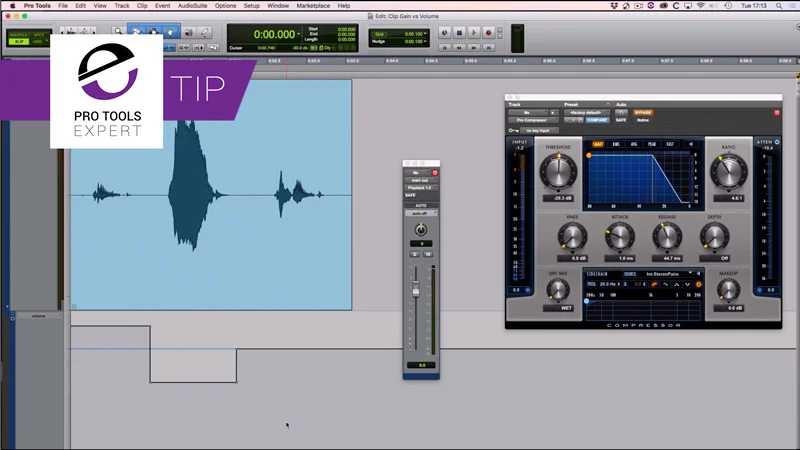
In this extended premium video tutorial, Julian Rodgers explores the use of the release parameter to introduce a bounce to 2 Bus compression.
In this tutorial Julian demonstrates how, with careful setting up the compression introduced by processing the whole mix can subtly reinforce or even shift the rhythm of a track. Using filters on the side chain, choosing the most appropriate detection mode where available and by tweaking the release time it is possible to place the audible recovery of the gain reduction applied to the track between the main transient elements such as snare or kick. Bringing this recovery into the spaces between hits brings movement to the track and shifts the rhythmic emphasis of the arrangement.
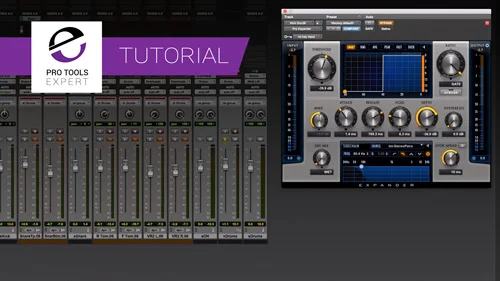
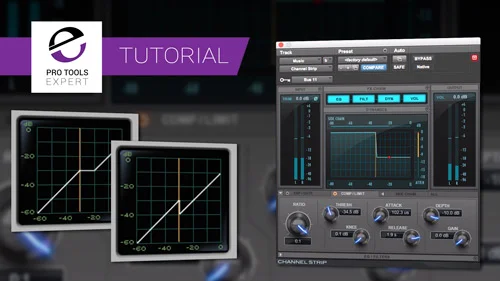
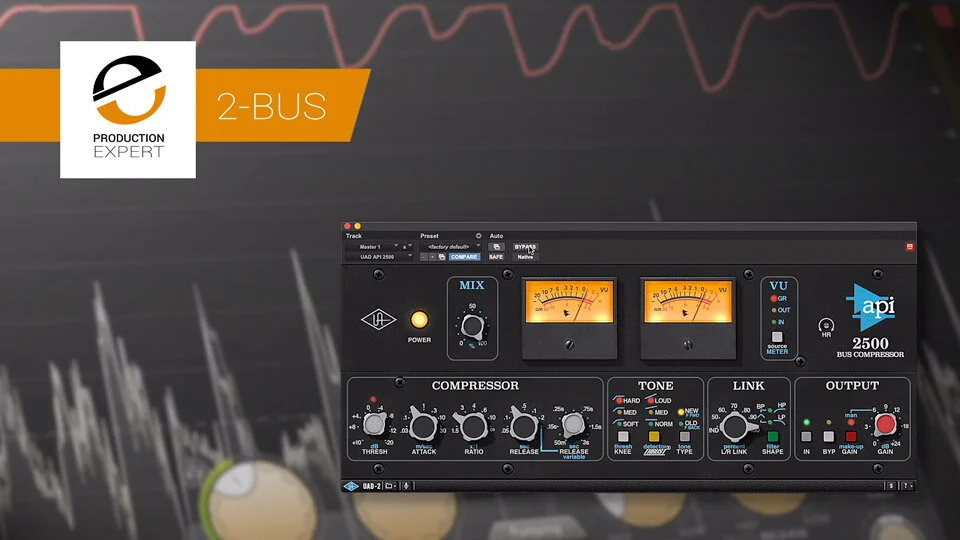
This tutorial uses Avid Pro Compressor and FabFilter Pro C-2 to show how the extensive choice of detection and compression modes can be used to shape the sound but also uses the API2500 plugin from UA to show how a restricted set of fixed values can give great results.
How Can I Watch This Video?
Firstly you can watch the preview section of this video for free, no charge and with no signup. If you have not yet signed up to the new platform, and you want to watch the rest of this video, and hundreds more like it, then you can by signing up for a free 7-day trial. If you aren't satisfied it is a good deal then cancel the subscription within the 7 day trial period and it won't cost you a penny. If you like it then for just $3.99 per month you can watch this and hundreds more videos like it.
If you are already an existing subscriber to our new video platform, then thank you for your support and you will be able to watch this video all the way through.