
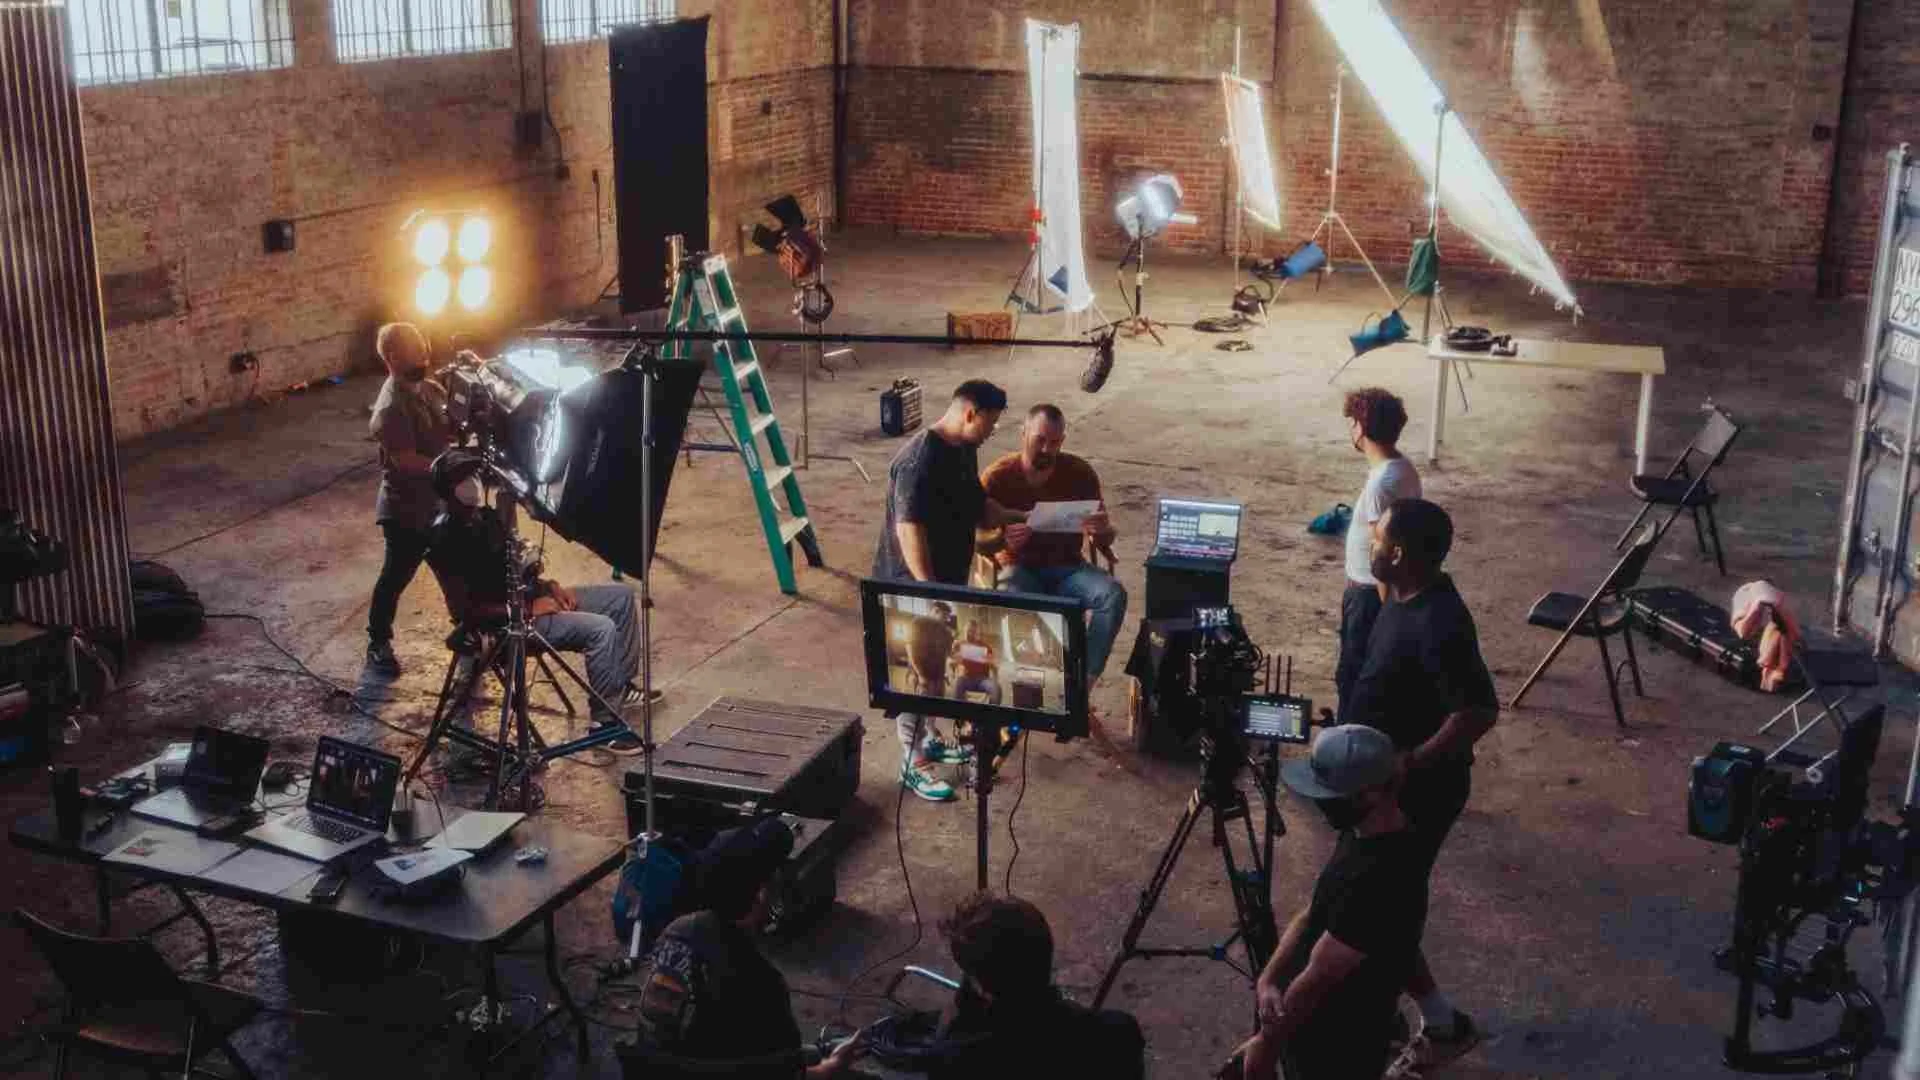
These days it’s common for video shoot teams and camera operators to attempt to capture the sound themselves, especially on smaller productions such as corporate videos or low budget TV shows. Unfortunately, this approach can very often lead to recordings which are of less than ideal quality to put it mildly. This means that when it gets to audio post we’re often faced with noisy, distorted or overly reverberant recordings which then pose a challenge for us to clean up and make good. Other technical issues relating to file format and synchronisation can also be a problem. Here are some suggestions to pass on to video crews in order to stand the best possible chance of getting good location recordings in the future.
Recording Level
This one should be obvious and yet it repeatedly gets overlooked on shoots where there is no dedicated sound recordist. Often, audio gets recorded too loud, resulting in clipping. Sometimes the opposite occurs where a very low signal level is recorded because nobody was actually monitoring the audio at the time of shooting or they just didn’t understand how to set levels properly. Having a standard process in place of setting and checking levels prior to shooting and then monitoring it throughout the shoot should be a basic requirement as far as location audio goes. Although moderately clipped audio can now be corrected in post, it’s never an ideal scenario to have to do this and so good level setting gives the best chance of a good sounding end result.
Room Tone
When editing dialogue, it’s useful to have some room tone from the filming location. This can be used to fill in gaps in the dialogue edit. Room tone is essentially a recording of the low level background noise of a room. The challenge is usually in actually getting a quiet couple of minutes to make the recordings with nobody shuffling around or talking. Typically, these recordings will be used in mono so they’re in keeping with the character of room tone present in the dialogue recording itself. Be aware that microphone position within a room can have a big impact on the sound of the captured room tone, with the character changing as the position is changed. If possible, make recordings in more than one position to cover a wider range of use cases in post and to provide options to the post sound team.
Wild Track
Wild track, or wild sound are terms which describe audio recordings which are made when the cameras aren’t rolling. There is some overlap in terminology between room tone and wild track. Capturing wild track can include making stereo ambience recordings, especially for outdoor scenes. This can be used as a general continuous background which, in addition to the mono dialogue, can help bring the scene to life.
Wild track can be particularly useful in cases where something which might be hard to source sound effects for is present in a scene. This could include things such as environmental sounds which are specific to the location or unusual vehicles. Having good quality recordings of these to use in post can make the tracklay process quicker and better.
Timecode
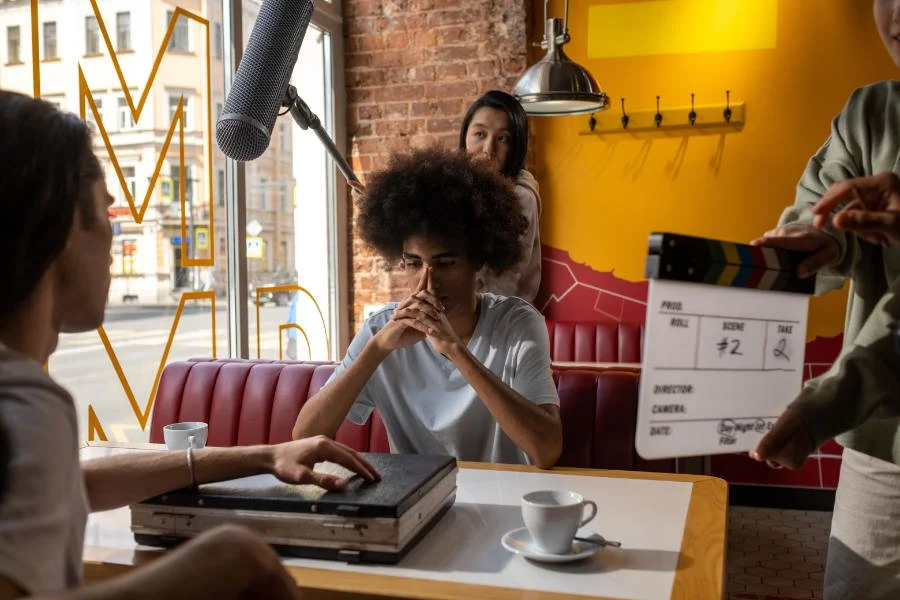
The best practice when filming with multiple cameras and capturing sound separately is to use timecode. Typically, this is generated by a device which then distributes it to all cameras and the sound recorder, either wirelessly or using Jam Sync. Having the same timecode on all footage and sound recordings makes the process of syncing them together in post easy. As a fallback, clapperboards can also be used to provide a visual and auditory sync reference at the start of each take. When doing this it’s preferable to roll camera sound on all cameras for reference since the clapperboard is likely not to be in shot on every camera on every take. The worst case scenario when working with footage from multiple cameras and separate audio is having no timecode, no clapperboard and no on-camera audio as a timing reference. Mute footage with no timing reference is extremely difficult to sync up to audio in post and should be avoided at all costs. Shoots of this complexity ideally require a professional sound recordist!
Room Acoustics And Mic Placement
On a video shoot one of the big considerations is naturally making shots look good. It’s important to consider room acoustics though. Filming an interview in a large reflective space might make for a great shot but sound also has to be factored in. Wherever possible, measures should be taken to minimise the effects of overly reflective spaces. There will be times when something needs to be shot in a less than ideal acoustic setting because the scene calls for it but careful placement of microphones as close to the subject as possible and the use of lav mics can help to reduce the audible effects of a reflective space on a recording.
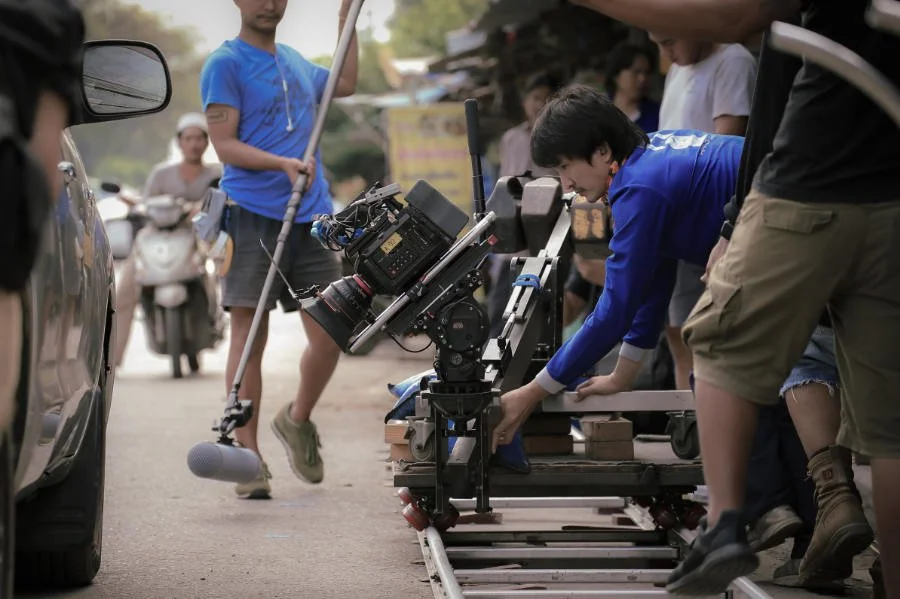
The importance of microphone placement in general cannot be overstated, not just when recording in suboptimal rooms but generally when making any recordings. If using a boom mic (which is not the best choice in a reverberant space but works well outside), users need to be aware of the directionality of the microphone and the effect this has on sounds which are on or off axis. An interviewer nonchalantly holding a boom mic and pointing it towards the interviewees chest can expect to hear from the post-production sound department with a few choice words!
Background Noise
We’ve saved one of the most common problems until last: noise! It’s often impossible to avoid capturing some unwanted background noise in a recording, especially when shooting on location, but things can be done to minimise it. Some of this ties in with the previous point about mic placement. Using the right microphone for the job is a good start. If shooting in a noisy setting, a cheap camera top mic will not give the best result but a boom positioned just above the actor or interviewee will reject a lot of the sound hitting the mic from the sides. If unexpected or intermittent sounds occur during filming such as a large truck passing by or someone’s phone ringing, it’s best to do a re-take if possible. Also, putting some consideration into the actual location and moving to a slightly quieter area when possible is an easy way to achieve lower background noise levels.
Another point is to switch off air conditioning units or background music systems if present at the time of filming. Finally, the sound from microphones should be monitored throughout the recording to check for handling noise, clothing rustle or radio mic interference. It’s not good enough to do a quick check at the start and then leave it recording unmonitored.
Final Thoughts
Hopefully the suggestions above should provide some useful guidance to video shoots teams to allow them to achieve better sound when attempting to capture it themselves. Ultimately though, the best way to guarantee successful, high quality audio recordings is to use a professional sound recordist! As the saying goes, “If you think it’s expensive to hire a professional to do the job, wait until you hire an amateur”.

Photos by Sippakorn Yamkasikorn, Jakob Owens and Ron Lach.