
In this video, Luke Argilla and Brian Pennington from Dolby offer a comprehensive guide on how to set up a mix room for Dolby Atmos Music mixing. From room layout and dimensions, through speaker requirements to practical, step by step advice on how to tune an Atmos monitoring system, if you need advice on how to get started, this video is essential viewing.
00:00 - 00:56 Dolby Atmos Music Creation 101: Studio Setup and Tuning
00:56 - 02:45 Configuring Your Dolby Atmos Music Studio
02:45 - 06:00 Speaker Specifications
06:00 - 07:57 Configuring Signal Flow
07:57 - 08:43 Dolby Atmos Music Studio Resources
08:43 - 11:25 Tuning Your Dolby Atmos Music Studio
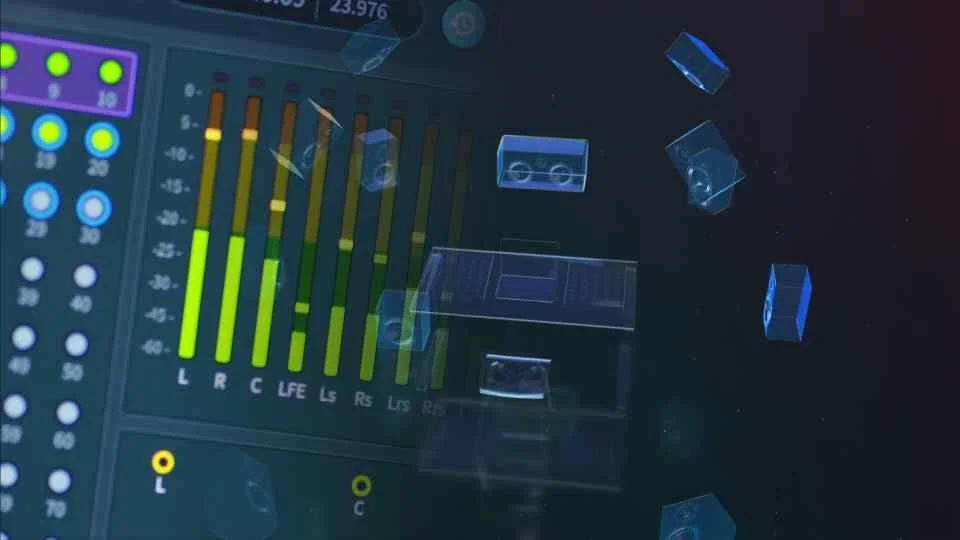
11:25 - 13:17 SPL & Level Calibration
13:17 - 15:58 Setting Delays
15:58 - 19:45 Acoustic Room Tuning & EQ
19:45 - 21:12 Pro Tips
Using Luke’s home studio as an example, he walks us through his own 7.1.4 setup before handing over to senior applications engineer Brian Pennington for a look at best practices and techniques for tuning.
This video contains really useful, specific advice. For example advice on room size:
“The optimal Atmos mix room would be 18 feet wide by 21 feet and 10 feet high, but for those of us with home studios and working with less than perfect room dimensions, you will generally want your Atmos Music room to be a minimum of 10 feet wide by 11 and a half feet long and with your ceiling at at least eight feet high. These specifications will be optimal for speaker configuration and allow for proper dispersion”
The video also include specific advice on acoustic room tuning, for example did you know that the recommended ratio of absorption versus reflective surfaces in a mix room is 60/40 or 70/30?
How To Tune An Atmos System
If you’ve never tuned an Atmos system, step by step advice is offered, including how much level and headroom you need, how to generate the test tones from the Dolby Atmos Renderer, the type of sound level meter you will need and which weighting to use and when. The importance of offsetting speakers using delays is covered including practical advice on how to measure your speaker placement and the relative merits of creating the necessary delays and EQ curves in the Dolby Atmos Renderer compared to using a hardware speaker controller.
Dolby Atmos Room Design Tool
If you are planning an Atmos system it is worth knowing about a tool named the DART - the Doby Atmos room design tool. It's helpful for choosing speakers that are right for your space. The dart allows you to put your room dimensions in to a spreadsheet style interface and it calculates where your speakers should go in your existing space. It also allows you to play around with different models of speakers and different combinations of speakers to see what works for your space for both power handling and SPL.
Practical advice on measuring and tuning your monitors is included, from how to tune your system manually through to advanced tools like using Smaart analysis software with multiple mics to tune the system.
Atmos Pro Tips
To wrap up Brian offers some tips:
“First, Cover your speakers. Creating a room where you can't see your speakers will improve your mixes because you'll stop mixing for speakers and start mixing for the space that you’re in.
Second. We want you to tighten up your room acoustics with improvements. If your room is fundamentally flawed, your mixes will be too.
Third, take a field trip, mix stuff in your room, and then go see how it translates to other known Atmos spaces. This is especially useful If you are going to work with a particular pro studio for purposes of reviews with clients.
Lastly, if your mixes are not translating well, work hard to improve your setup so that those mixes do translate better to the known Atmos playback systems. If they sound wrong in someone else's room, you know, you have some homework to do.”
