
Great guitars are easy if the perfect take is perfectly captured. But what if they aren’t? In this article Mike Exeter offers some expert advice on how to deal with guitars which fight back…
I’m often asked about how to get a great guitar sound and it’s easy to resort to the flippant response of “start with a great guitarist, a well set up and brilliant sounding guitar and amp, and put a mic in front of it”
I did in fact use this response when a friend asked me my signal path on a track I recorded with Jeff Beck, as there was nothing I could have done (within reason) to screw that recording up. In that instance it was exactly why the track sounded great, and it continues to be the case when working with incredibly talented players.
This, sadly isn’t always the case and it can have quite a negative effect on what we are presented with to work on. I would always rather record my own sounds where possible (and showed a couple of methods I use on a Production Expert video a couple of years ago with James Ivey) but more and more people are taking the recording process into their own hands.
As a result I’m going to focus on what happens when the artist ignores us and either doesn’t watch that video, or chooses not to send a DI so we can’t re-amp the track through something we have control over.
I generally work in rock/pop/metal genres so the guitars can be clean, dirty, heavy and form a huge part of the harmonic content in the mix. However, they must still co-exist with the other instruments in the band so there will be a need to sculpt and enhance their ‘best features’ whilst using sleight of hand to make you think there is a 100 watt amp in the room with a band of musicians coming through 4-6 inch drivers.
The steps I go through are a thought process with a lot of listening, going backwards and forwards, and bypassing and level matching.
Chip Away The Sharp Edges
I start by listening in the context of the mix to what aspect of the guitar isn’t giving the energy I’m after. Pushing up the faders may reveal a boomy low end coupled with resonances in the midrange that contribute to a harsh and indistinct sound that doesn’t punch through the mix like I’d like it to.
People often criticise working in solo, but it’s there for a reason and I need to focus on which parts of the sound are able to be cut and which are important. I go between solo and unsoloed listening all the time. Context is vital.
The worst offender in most guitars can be found between. 2-4Khz presenting itself as an inharmonic (or dissonant) whistle. These can occur at a fundamental frequency and at octaves above and below that.
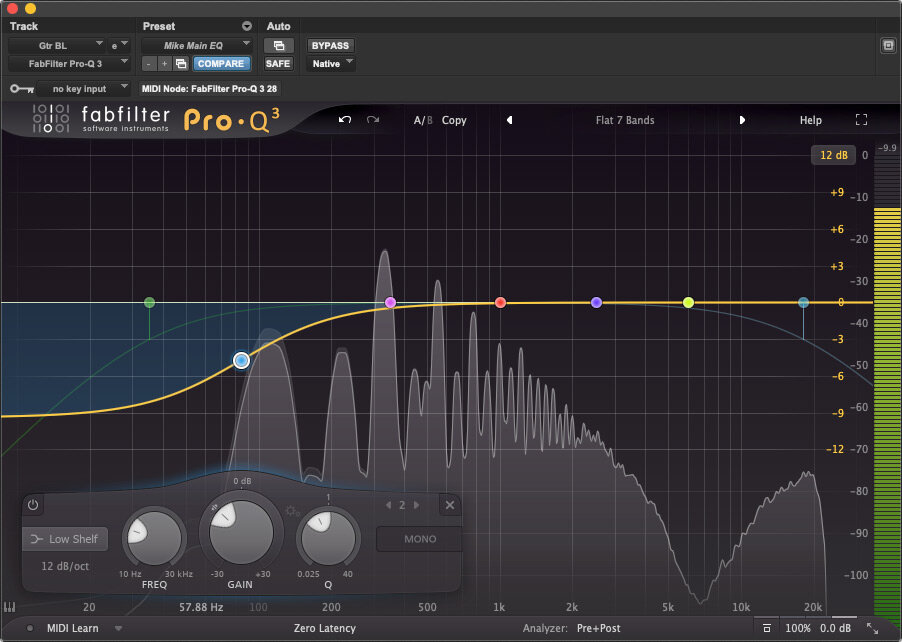
Using a narrow bandwidth bell EQ (preferably with a band solo function) I find the worst offenders - I call them hotspots - and cut them a couple of dB. It’s tempting to take out a massive chunk but we are only looking to reduce them without taking all the energy out of the sound.

Using the stock Avid EQ7 it’s possible to activate the band solo mode by ctrl-shift-clicking and engaging one of the band’s knobs - remember to hit play first as the spacebar doesn’t respond with those modifiers pressed. I tend to use either Fabfilter ProQ3 or my Massenburg MDW6 for my ‘chipping away’ sessions as they have wonderful band solo functions (the Massenburg has in inverse solo mode that is incredibly useful for really honing in on the correct frequencies)
I also check out any aspects of the guitar which are overbearing such as the “chunks” of muted low end on heavy riffs. These may need controlling with a dynamic eq or multiband compressor so as to reduce them only when they hit hard and become really resonant.
I am looking to create a sound that is as full range as possible with plenty of clarity and punch so I can fit it into the mix with the other instruments
Fill The Cracks
Once I’ve got rid of the worst energy-sapping elements, I use a small amount of harmonic saturation to allow the ‘jagged’ signal to be less spikey and fill the gaps left by cutting the resonant frequencies. A good friend and client always asked me why the sound had ‘holes’ in it when getting rid of those resonances. I didn’t know how to explain in non-technical terms to him but putting a tape or tube emulator always gave him the missing energy back and he was satisfied with that.
It’s important to juggle the saturation amount with the resonant cuts and also check the output level of the saturator so as not to fall prey to ‘louder is better’ perception.
By now I’m looking to be able to bypass the two plugins (control-clicking on the uppermost plugin will toggle bypass on that and any below in the Pro Tools mixer) and with level matching find out if I am getting the energy balance hitting better in the areas I’m looking for.
Sculpt the shape
I’ll now bring the mix back and get the guitars to an audible level and panning position (usually full left and right for doubled guitars) and see if there is any frequency masking to deal with. I’ll use another instance of EQ to gently take out any areas where the sounds are competing - Bass guitar occupies the same low and low mid frequencies as most heavy guitars so I’ll use a low shelf to gently pull down the guitar low end until the bass is carrying the load (without having to turn it up)
I absolutely do NOT advocate the use of High Pass Filters to indiscriminately cut the bottom end off the sound - you are actually taking away an incredible amount of weight and energy that is automatically rolled off by small speakers and ear-buds but will be missed when played through more full range systems.
More top end may be required so I’ll add in a bell eq up in the high mids on a wide bandwidth to gently brighten up the areas below the cymbals but staying out of the way of the vocals.
Again, level matching and bypassing the chain is crucial to check I’m actually improving the sound. Adding some more harmonic saturation can enhance or add air to the high frequencies but beware of too much as that can result in a “bad MP3” or “Jangling Chains” sound.
Control The Envelope
Finally I look to see if I am getting the note definition or plectrum ‘ping’ against the strings which is where a compressor can really help. A good compressor with attack and release and variable knee controls can really help shape the attack in the mix and get the parts heard the way they should be. Look to match the timing of the attack and release to enhance the definition without needing to add any more eq.
Final Thoughts
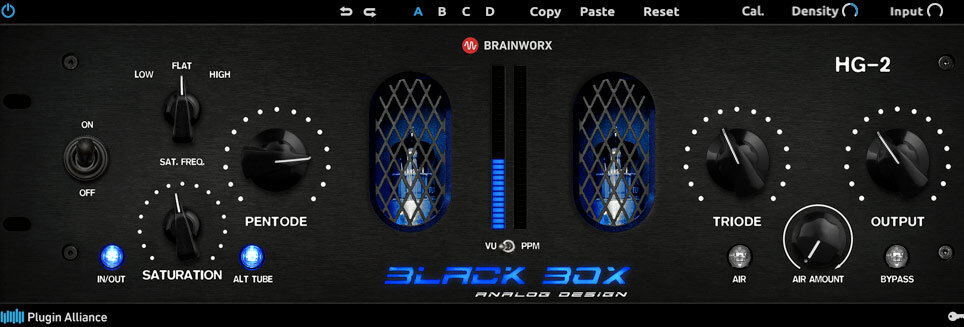
I always recommend trying the stock plugins that come with the DAW but I have to say that FabFilter ProQ3 and C2, and Plugin Alliance Black Box HG2 are often hard to beat from a sonic and usability standpoint and have been my first port of call when going through this process.
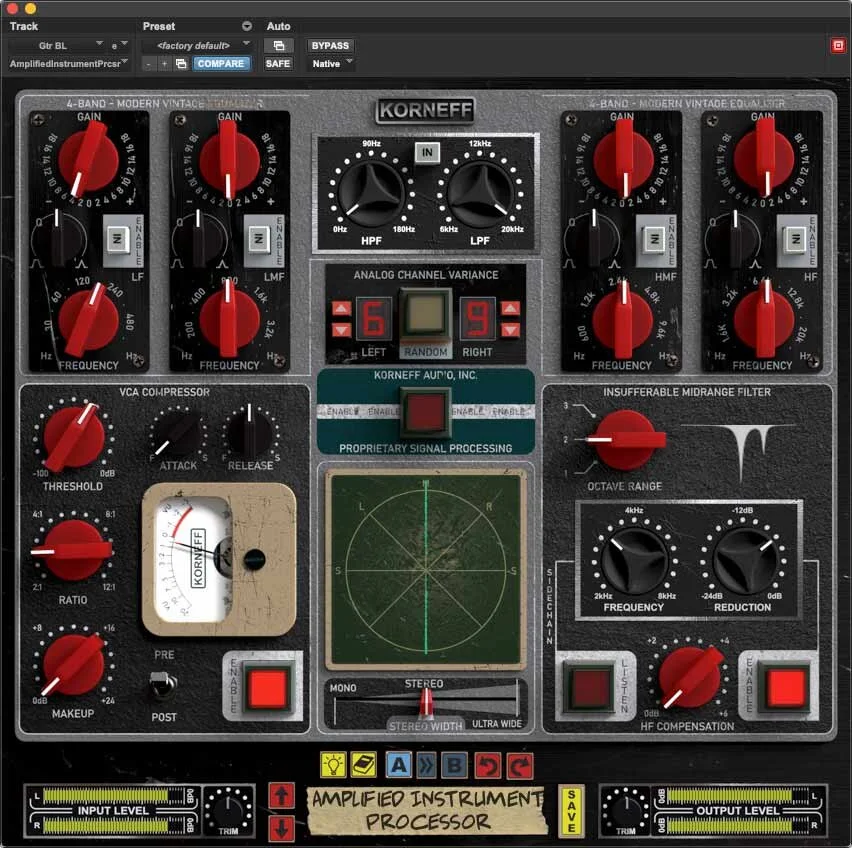

Also I am a great believer in using tools created specifically for a job (such as Sound Radix Auto Align for Phase issues, and Sonnox Drum Gate for sculpting acoustic drum sounds) and have been blown away by Dan Korneff’s AIP (Amplified Instrument Processor) which incorporates all the tools for my guitar shaping workflow in one Plugin.
The procedure is the same, it’s just a more elegant solution to getting the sound to where it needs to be.
Whatever methods you use - remember to check your level matching and don’t be afraid of solo as long as you listen equal amounts in the context of the full mix too.
Find out more about Mike by visiting his website.
