

Recently, we presented five tips for recording better vocals, but once you’ve followed them to the letter and nabbed that flawless take, what’s next? Here are half a dozen things you can do to take the centrepiece of your song to the next level.
Make sure the recording is up to scratch
Unless you’re aiming to utterly transmogrify your vocal to the point of being unrecognisable as a human sound, it really is essential that the recording itself is of the highest possible calibre. So do check out our recording tips linked to above, and – most importantly – make sure your mic, preamp, acoustic environment and, indeed, singer are up to scratch before you commit to the capture. If, on playback, you’re in any doubt whatsoever as to the technical or stylistic quality of the performance, make the necessary adjustments and do it again until it’s right. A certain amount of turd-polishing is certainly possible thanks to the magic of the modern DAW, but it’s far better to work with excellent source material from the off.

Keep it natural
Following on from that – and again assuming you’re going for a ‘live’ aesthetic, as opposed to an overtly electronic sound – once you have that golden take in the can, don’t blow it by introducing problems at the editing stage. It can be tempting, for example, to edit or process out all breath and mouth noises indiscriminately, but these natural interjections can be beneficial to the character and authenticity of a vocal performance, so listen to them in context before reaching for the scissors tool. And when you do make cuts or comping edits, be wary of clicks and pops, and take care to maintain general consistency between the two sides of the cut in terms of tone and delivery. When you’re flipping between ten takes in a single comp, the first take might sound very different to the tenth, so keep your ears open for such discrepancies.
Equally, although plugin effects are the key to turning a great vocal recording into a stunning production, it’s usually good to err on the side of caution (ie, dryness) when it comes to reverb, delay, distortion and other transformative processing. If the vocal is intended to be the heart of your song, you want it loud, proud and emotively organic, and the quickest way to balls that up is to drench it in long reverb, bury it in echoes, crush it with over-compression, dial in too much de-essing, EQ the energy out of it or otherwise go in too hard with the plugins. Make your processing understated and classy, and give the singer the space in the mix that they deserve. Unless…
Cook up a show-stopping vocal
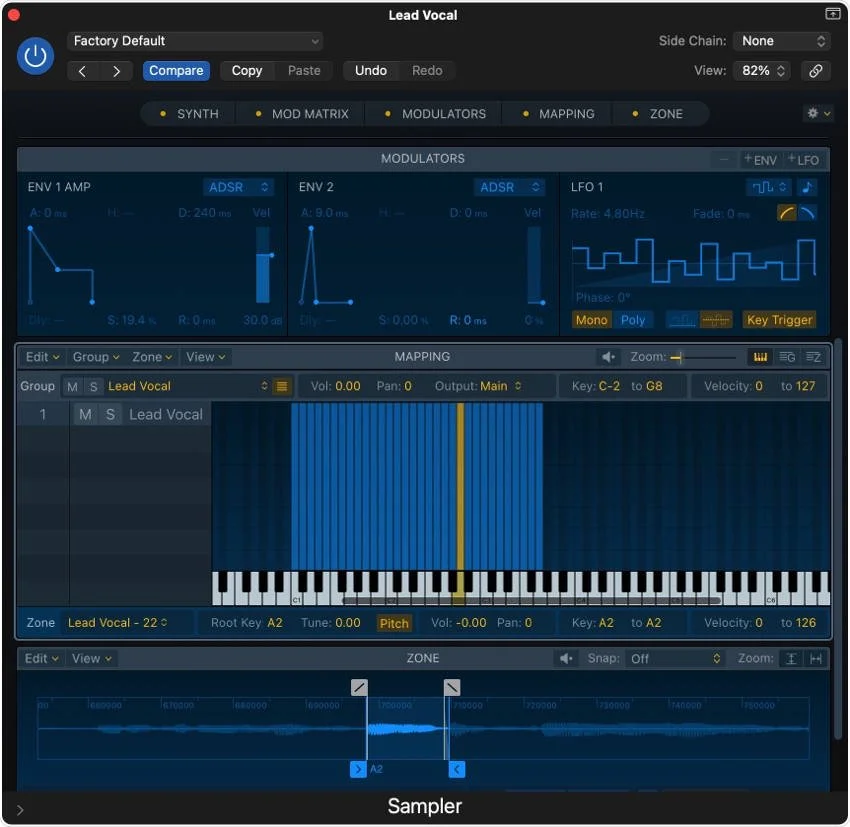
…you are in fact looking to take your vocals beyond the realm of realism and out into more experimental territory! With their intrinsic humanity, rich frequency spectrum and variable dynamics, vocals make powerful fuel for electronic exploration, and there’s no limit to the things you can do with them. From slicing up and rearranging lines in your sampler, and remodelling the singer with pitch and formant manipulation, to the application of screaming distortion, filter modulation, high-feedback dub delays and elaborate multi-effects chains, the sound design world is your oyster.
Obviously, the heavier the processing, the less of a ‘song’ your track will likely become, so when heading in this direction, it can be psychologically advantageous to approach the vocal as more of a textural component than a lyrical one. And always be honest with yourself when appraising whether or not the results of your futuristic machinations actually work within the context of the track – if they don’t, perhaps render the vocal and save it for a future project before backing everything off and reassessing.
Duck and cover
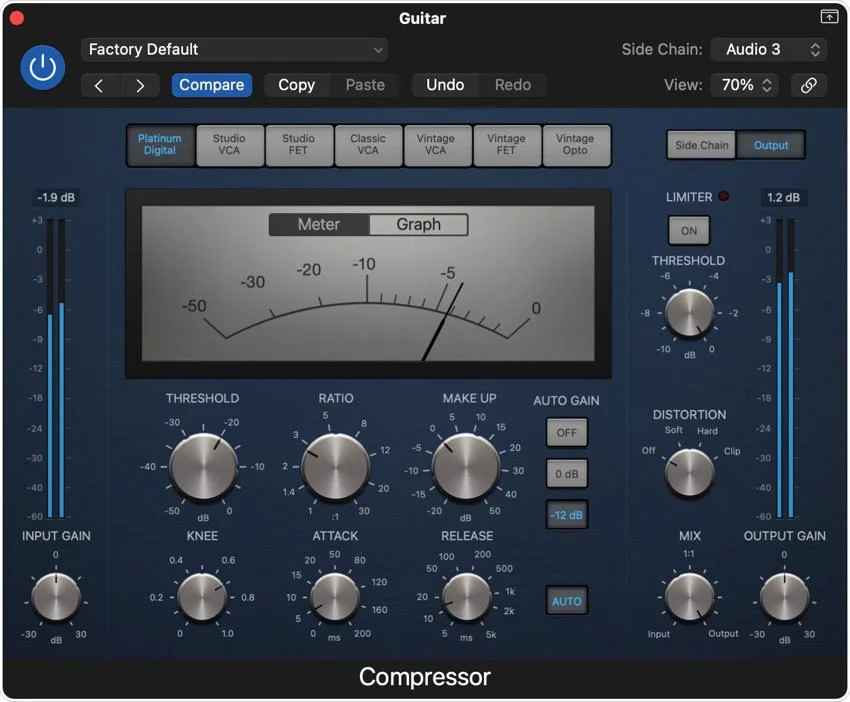
With the vocal, by and large, taking priority over all other track elements, other instruments in the same frequency range need to be moved out of the way whenever it’s present in the mix – guitars, keyboards, synths, etc. One way to achieve this is through simple volume fader automation, but for a more responsive, cohesive sound, try sidechain compression instead. Insert a compressor into the non-vocal sound(s) in question, then key the sidechain input off the vocal channel to have the former duck whenever the latter is present. Start with fast attack and release times, and play around with the threshold and ratio controls to get the required amount of ducking – enough to declutter the mix, but not so much that the non-vocal element draws attention to itself by suddenly dropping back too far.
Stay centred
Along with the drums and bass, in the vast majority of cases, the vocal should be kept mono and placed at the centre of the stereo field, with panning only used for attention-grabbing effect. Harmonies and double/triple-tracks can be positioned around it, but the lead vocal itself needs to sit on top of everything else in the mix, and it can only really do that if it’s coming straight at you, down the middle. Chorusing, delay, reverb and other widening effects are absolutely fine, but always keep that mono dry signal all the way up and be conservative with the wet mix – unless, again, you’re after a certain effect that calls for extreme width and/or a ‘hollow’ centre.
The right tools for the job
While you can configure your own perfectly effective vocal channel strip using any EQ, compressor and other plugins you like, it’s well worth considering a dedicated solution such as iZotope’s Nectar 3, or Waves’ numerous targeted offerings: CLA Vocals, Butch Vig Vocals, Eddie Kramer Vocal Channel, et al. Combining multiple essential and optional processes in a single interface, and designed specifically with laryngeal input in mind, these take much of the hard work out of vocal mixing and invariably sound fantastic doing it.
Also notable in this department are the various mic modelling solutions that have made it to market in recent years. The likes of Slate Digital’s VMS, Townsend Labs’ Sphere L22, IK Multimedia’s Mic Room and Antares Mic Mod enable at least close approximation of the sounds of all manner of vintage and modern microphones, some entirely plugin-based and converting the signal from one specified mic (the one you actually used) to another, and others employing dedicated ‘flat response’ microphones for even greater modelling accuracy.
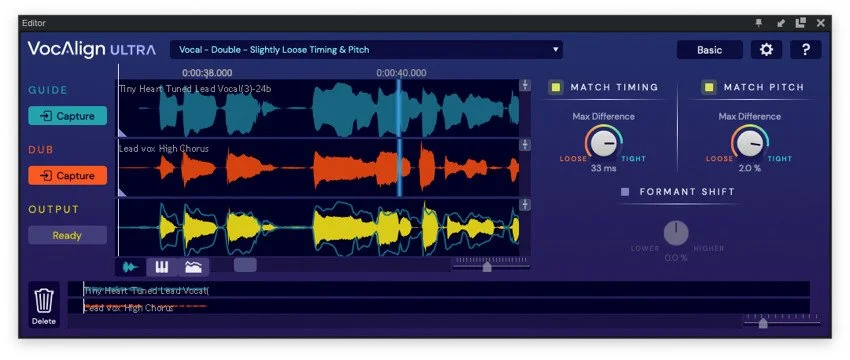
Finally, no write-up on vocal processing systems would be complete without drawing attention to Synchro Arts’ VocAlign Ultra. This miraculous plugin automatically aligns multitrack vocals (lead and BVs, most pertinently) in the pitch and time domains, with incredible transparency and a cleverly devised workflow. Highly recommended.
Share your vocal production proclivities – no matter how outré – with the world in the comments.
Image by Jan Marcus Trapp from Pixabay
