

No matter what sort of music you’re making, when it comes to imbuing individual tracks and the mix as a whole with character and interest, a little bit of texturising goes a long way. In the music production sense, ‘adding texture’ essentially refers to either of two things: the blending of multiple sounds to create a new sound that’s ideally even more compelling than the sum of its parts, and/or the processing of a sound in order to make it more abrasive, variable in its moment-to-moment dynamics and frequency content, or just generally ear-catching. Here are five techniques you can use today to do both.
1. Layer In Synths And Samples
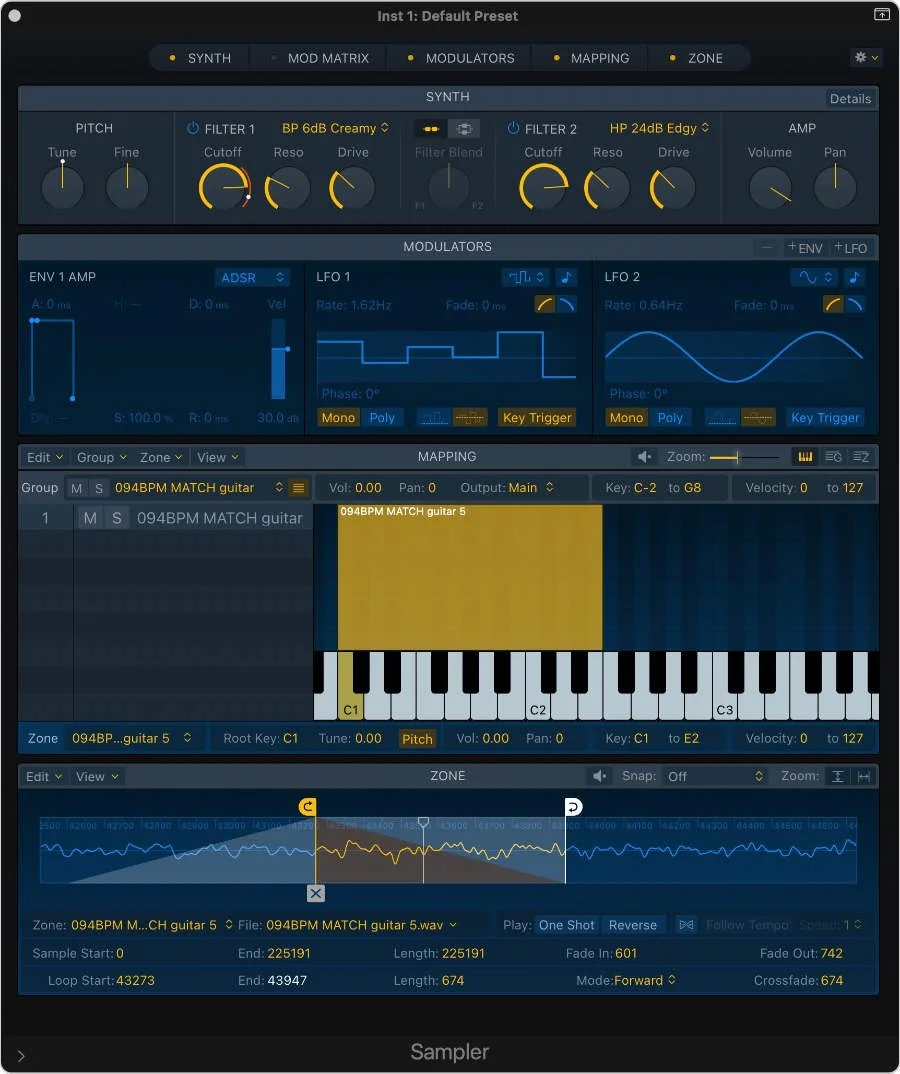
With their limitless adaptability and otherworldly tonality, synthesisers are the most obvious of instrumental candidates for working textural elements into sounds of all kinds, not to mention conjuring up pads and drones for use as low-level textural components in themselves. Strings, guitars, vocals and other sustained parts can all be elevated with the addition of a quiet doubling synth layer, while running a lush, modulated synth bed at the bottom of the mix can transform the energy and emotional feel of a song. When you want to get more edgy and artful with your texturising, though, fire up a sampler, throw any sample you like into it – a drum loop, a trumpet note, a vocal clip, a sound effect, whatever… – and experiment with pitching, stretching, looping, filtering and modulation to get a rougher, more intriguing textural layer than you might from a synth oscillator.
Whatever source you opt for, the idea is to enhance the ‘surface’ of the primary sound rather than replace it, so use filtering and EQ to shape the signal: insert a high-pass filter, for example, with the cutoff set to get rid of the fundamental and lower harmonics, leaving only the textural top layer in place.

2. Environmental Sounds: Nature’s Bounty
Despite the endless array of signal generating possibilities provided by modern music technology, ironically, perhaps the richest resource for sonic textures is the continuum of natural and man-made sounds occurring all around you, all the time. Wind, water, traffic, crowds, machinery, outdoor spatial ambience… the intrinsically textural hubbub of life is easily captured with your phone, laptop or mobile recorder, to be layered under the mix at whatever level of audibility works, from almost subliminal to overtly present. As above, your sampler or audio editor’s processing and editing functions can be called on to bend the raw recorded materials to your creative will, while sidechain ducking may prove helpful for controlling the dynamic relationship between the environmental layer and everything else happening on top of it.
3. Evoke An Era With Vinyl And Tape Noise
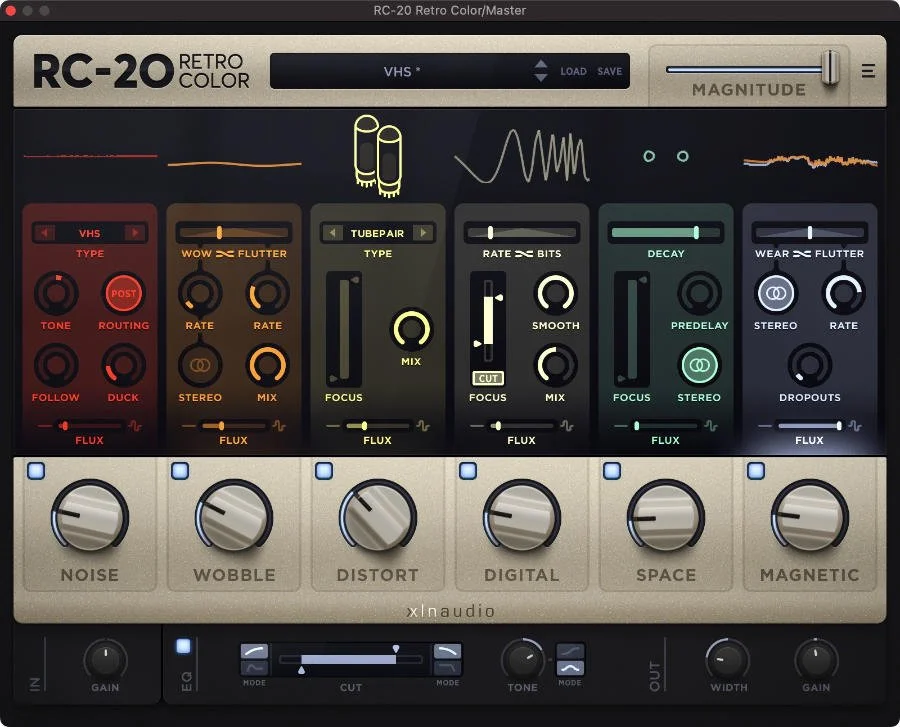
The mix-wide imposition of a referential background texture suggesting a particular retro playback aesthetic has become common practice in the age of surgically pristine digital audio. We are, of course, referring primarily to the emulation of vinyl crackle and tape hiss (in its various flavours – cassette, VHS, etc), either of which instantly brings to mind a universally identifiable production ethos and adds a pleasingly grimy patina to the broader mix. There are plenty of plugins available for generating this sort of thing, including u-he Satin and iZotope Vinyl; and again, the deployment of ducking sidechain compression will help your musical signals to punch through the faux electromechanical noise if necessary.
4. Distortion And Saturation: Rip And Tear!
So far we’ve focused on adding layers to existing parts to create aggregate texturising effects, but there are many ways in which you can make those parts more dense, grainy, rich, ‘vintage’ and otherwise colourful on their own, one of the easiest being the application of distortion. Whether it’s dialling in a little tube overdrive to roughen up a vocal, running a synth into a guitar amp to bring out its bite and fizz, shoving a lead synth through a bitcrusher to up the crunch, parallel-compressing a drum kit with ridiculously fast attack/release times, or warming up a full mix with a tape sim, almost any sound can be made more interesting with the imposition of some degree of analog or digital distortion. The plugin market is awash with options in this department, from general purpose saturation plugins to more purposeful lo-fi multi-effects, many of the latter also offering the vinyl and tape noise layers discussed above. When using any of them for purely textural purposes, however, you won’t want to compromise the essence of the subject sound, so keep that processing tasteful (the dry/wet mix control is your friend), and always judge the effect in the context of the mix, not in solo.

5. Textured Space
The real or virtual space in which any given sound resides plays a major role in defining the perceived texture of not only the sound itself, but also the mix in its entirety, so when thinking about sonic texture, it makes sense include reverb and delay effects in your contemplation. We’re not talking about merely tweaking the size, shape or decay of a reverb, or setting up a groovy delay pattern to make a given part sound ‘better’, but rather, processing the tails or echoes with further effects – the aforementioned distortion, or phasing, flanging, filtering, compression, etc – in order to permeate them with their own textural character, adding to that of the input signal. Such effects can be simply placed on the reverb or delay return channel, but if you can insert them into the feedback circuit of your delay plugin, too – by either setting up an auxiliary feedback loop in your DAW or using an open-ended delay/reverb plugin such as Blue Cat Audio’s amazing Late Replies – so much the better.
What techniques and plugins do you draw on when looking to add texture to your tracks? Let us know in the comments.
Photo by Giuseppe Famiani on Unsplash
