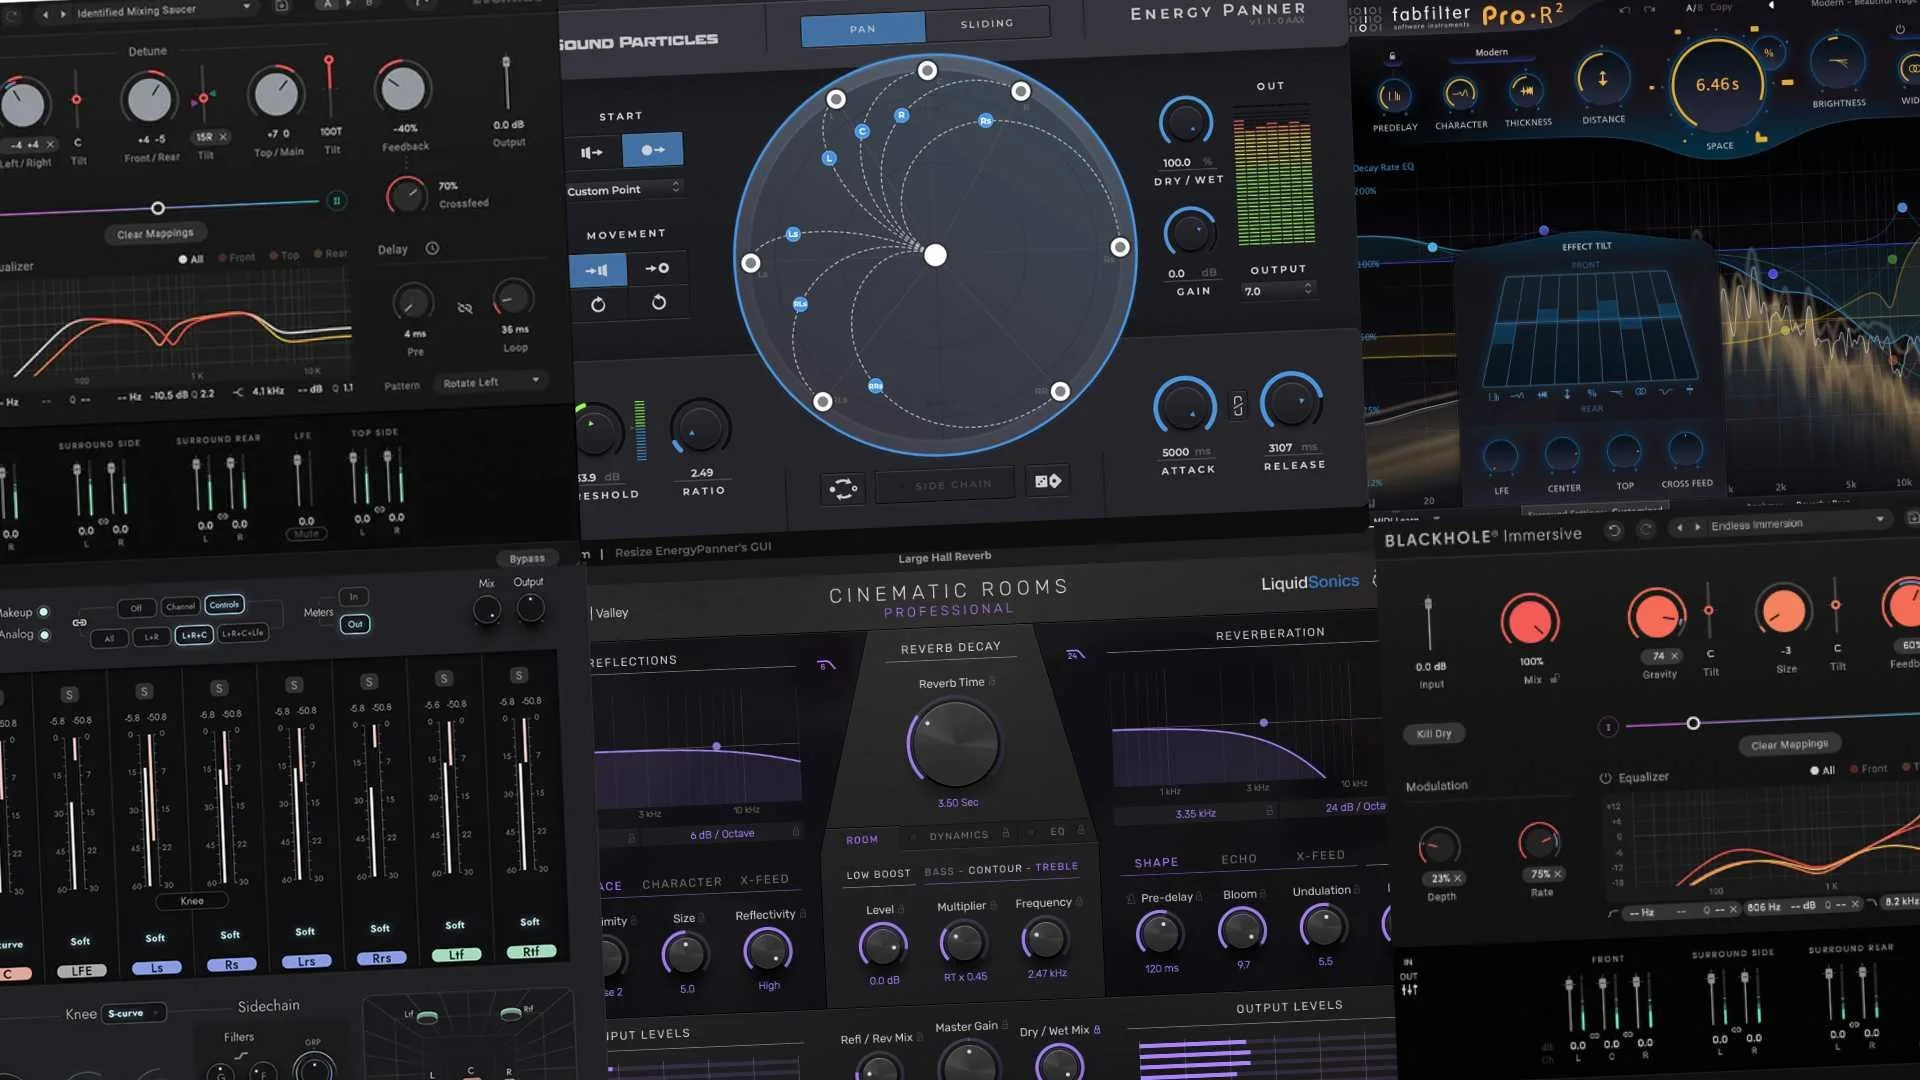
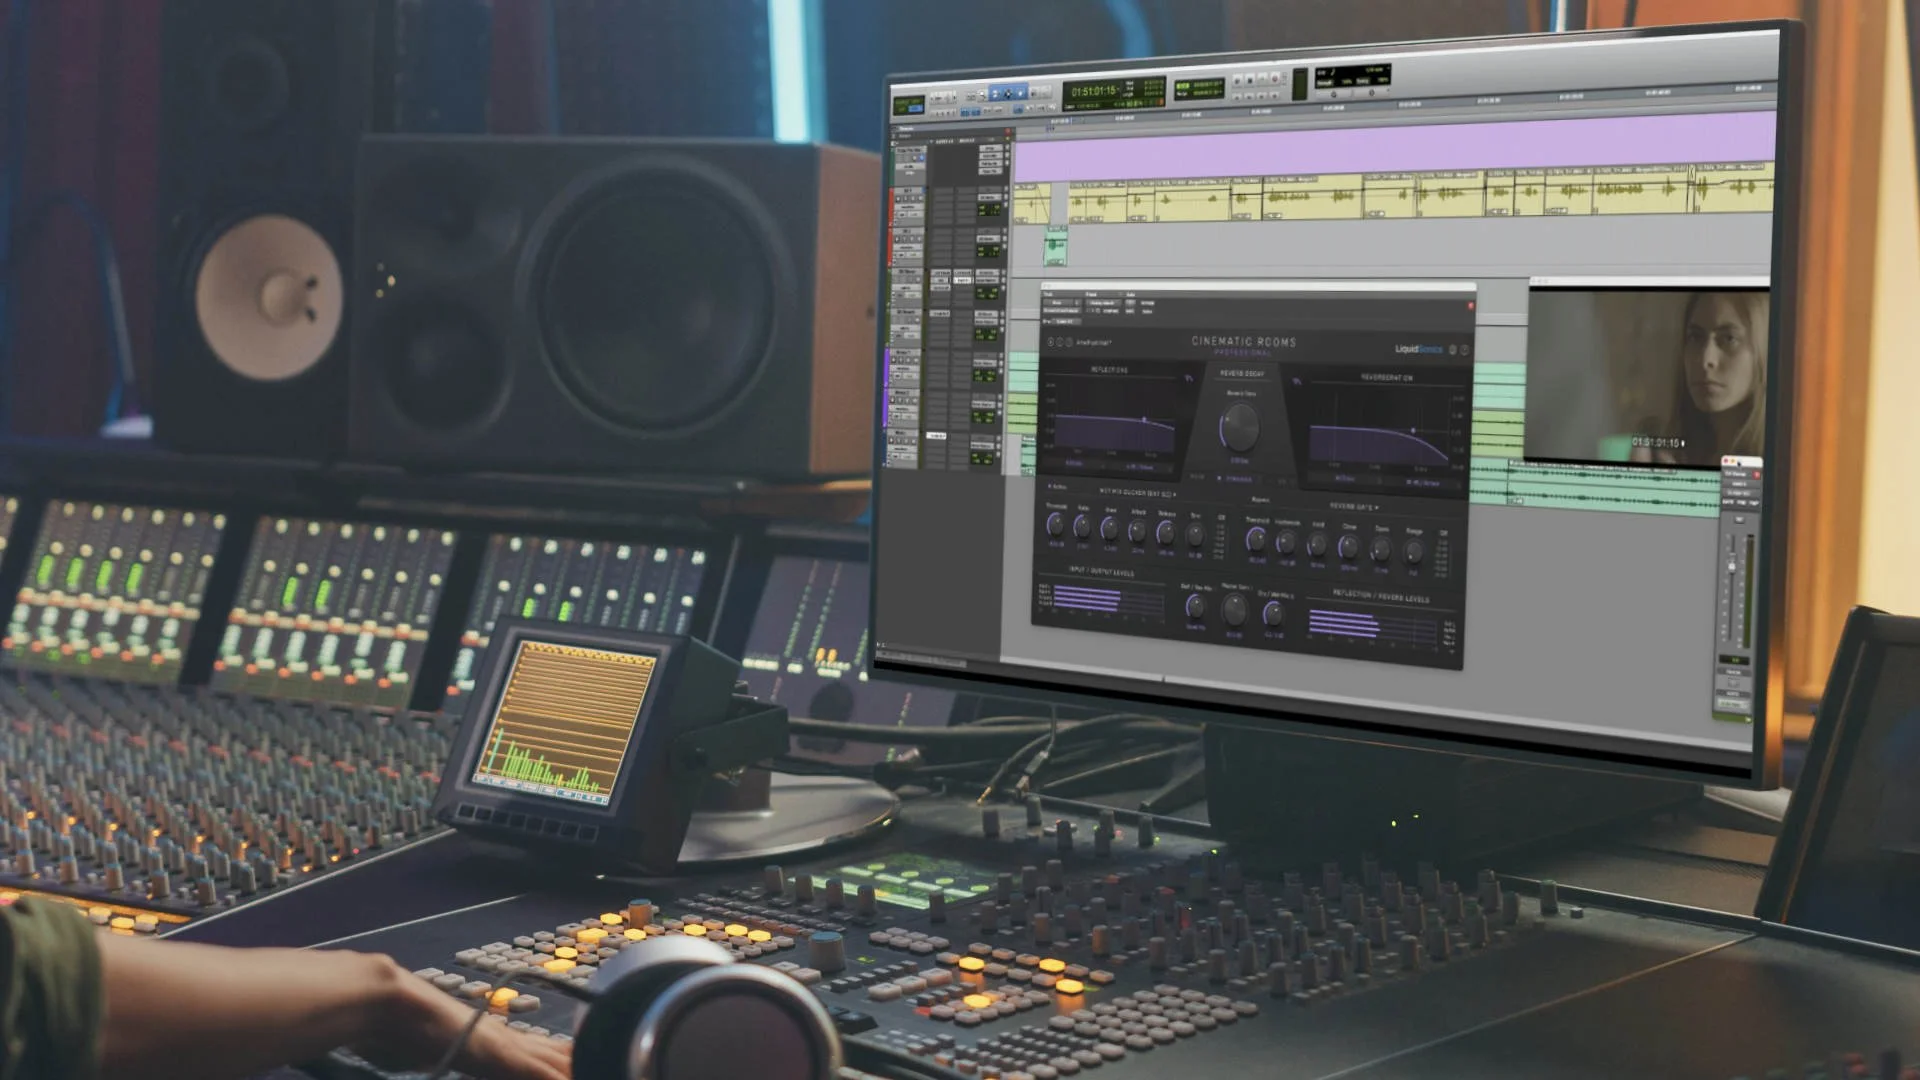
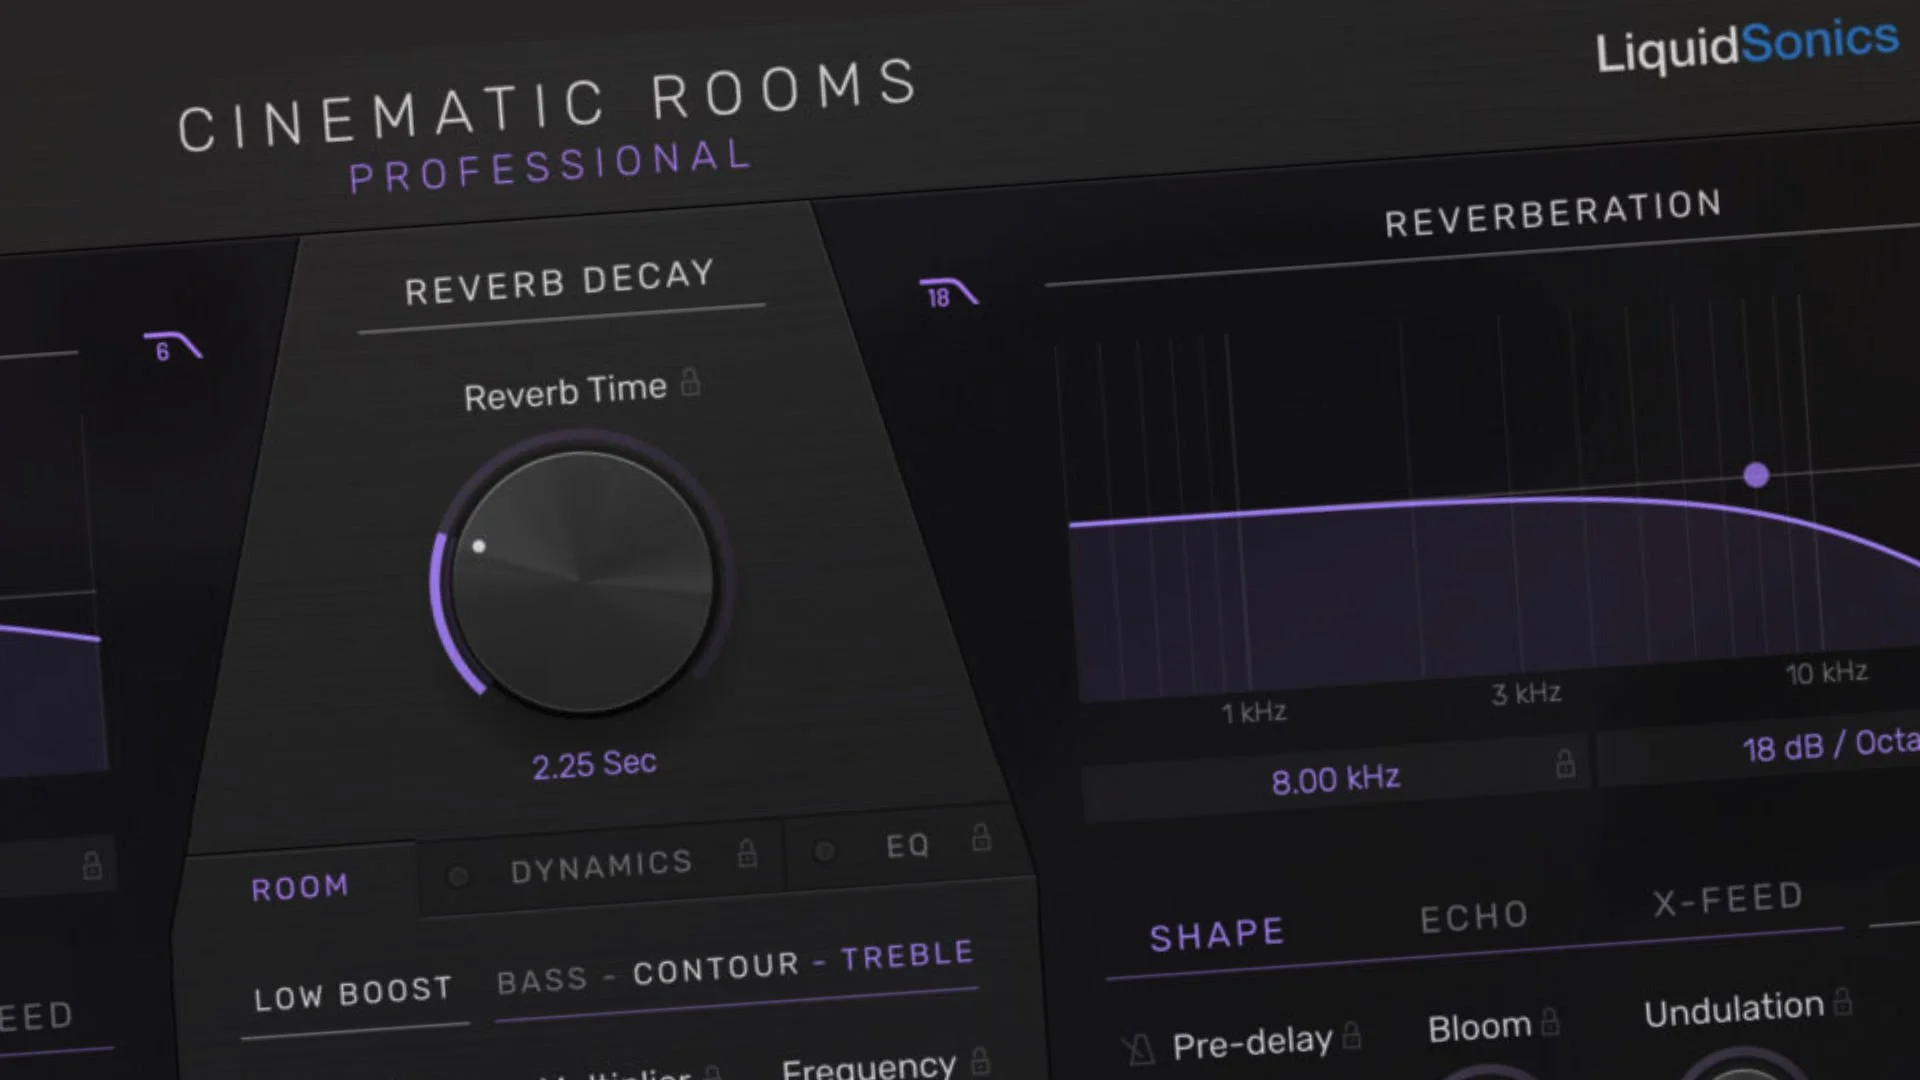
In this free video tutorial Julian Rodgers demonstrates the early reflection section of LiquidSonics’ Cinematic Rooms. Having a track with a very dry vocal Julian shows how the early reflections can be used to create a classic ambience effect but rather than relying on Lexicon algorithms he shows how easy it is to take a deep dive into the early reflections parameters in Cinematic Rooms, particularly if you use a suitable virtual instrument to feed a click into the reverb to help better understand the effect the controls have on the sound.
Auditioning Reverbs

Rev 500 Audition Button
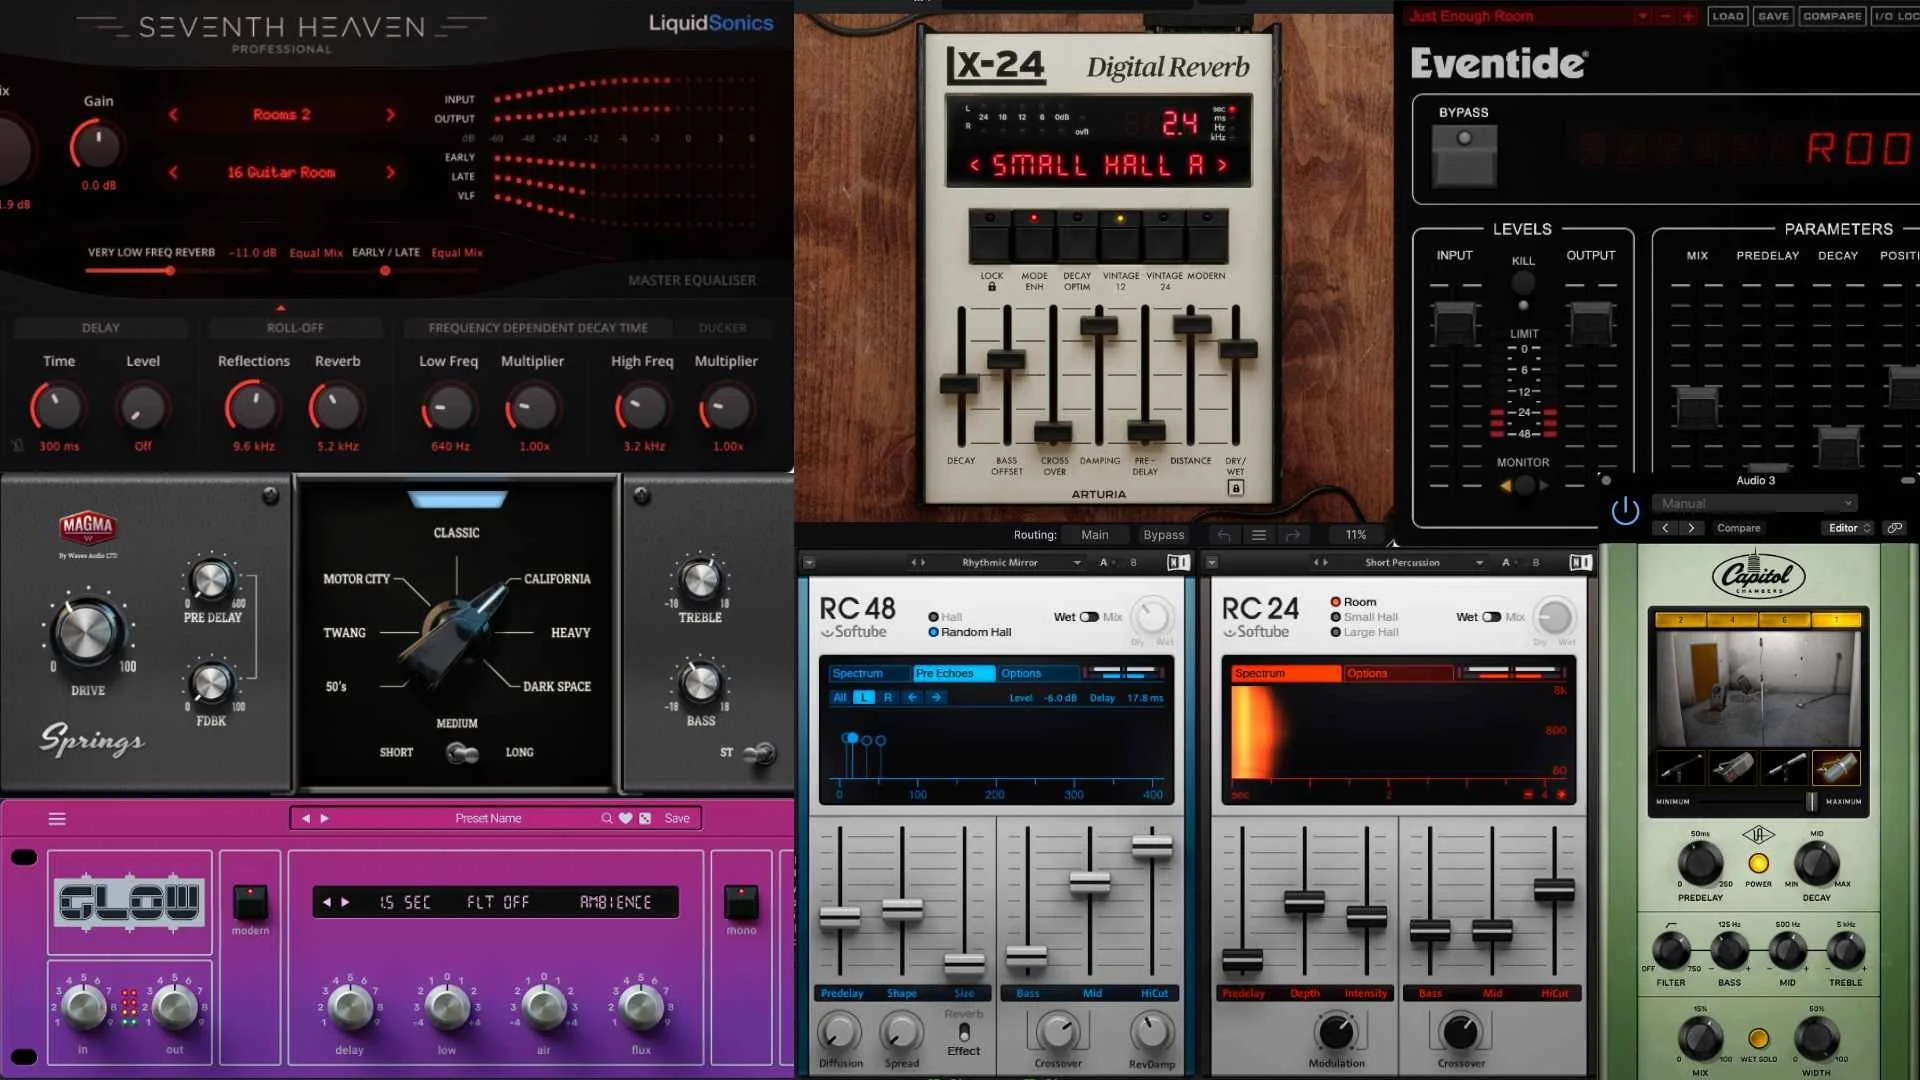
Many years ago I used to have a Yamaha Rev 500 in a teaching studio I used and while there were other, better reverbs available, I liked that one for demonstrating the effect the different parameters had on the sound because it had a front panel “Audition” button which triggered a snare or a rim shot sample meaning you could test your tweaks without having to hit play on your DAW. In the same way, a great way to get to know the effect a parameter like diffusion has on the sound of early reflections is to play a very short click sound through the reverb and if you can trigger that sound from a MIDI controller rather than hitting play on your DAW than all the better.
In this video, I demonstrate how I familiarise myself with the effect of the various parameters available in the excellent reflection section (every time I type that I think it sounds like a good band name…) in LiquidSonics’ Cinematic Rooms. When I’ve dialled in the kind of setting I imagined would work I drag the plugin onto the vocal track and try it in context. I’m not suggesting trying this technique every time you use a reverb but it’s worth using when you’re getting to know it for the first time. It’s just like having my old Rev 500 back, but with way better reverb!
Thanks to Jess Orestano for the use of her track “Cry”.