

In 2019 PreSonus, the makers of Studio One, launched the next generation of StudioLive mixers which continues the dual purpose trend found in previous StudioLive consoles. As the name suggests, these mixers are equally at home in the studio as an all-in-one audio interface control surface central station as they are for as a front of house mixing board and portable recorder in live shows.
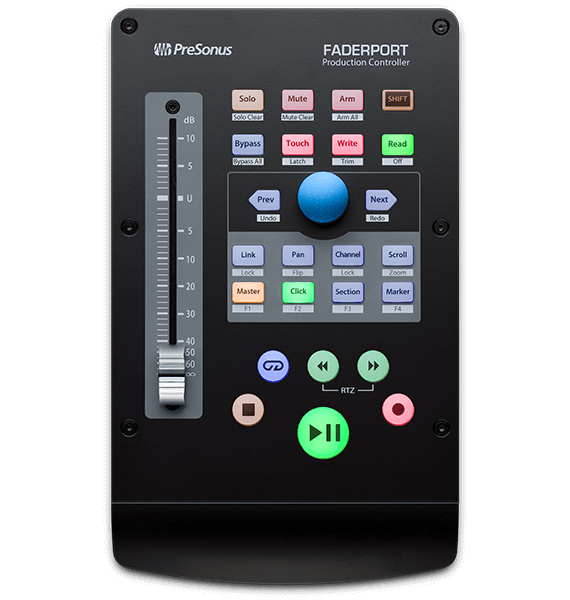
In this article, we pay close attention to the control surface credentials of the StudioLive Series III within Studio One to find out if this range of mixers are any good as a dedicated controller. We also want to find out if the StudioLive Series III has anything more to offer compared to the more affordable FaderPort series of control surfaces PreSonus also provide.
Price
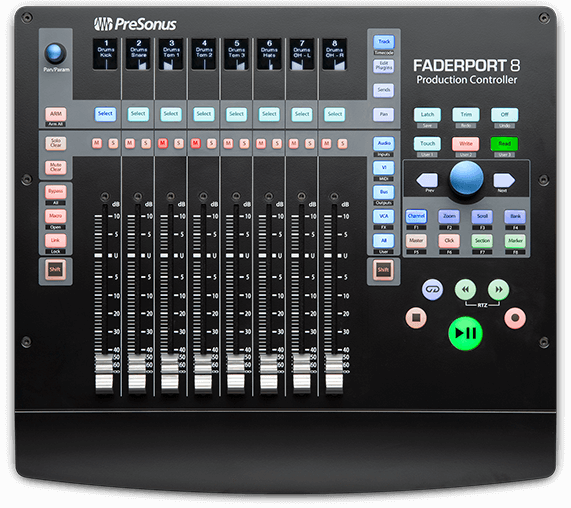
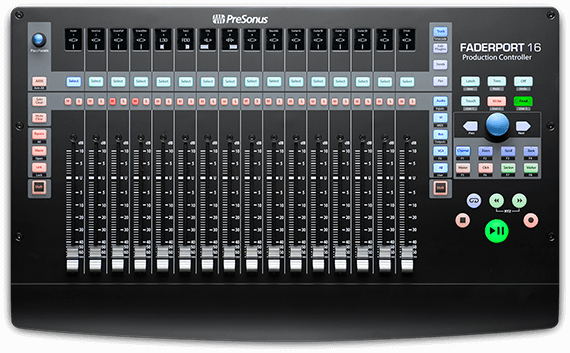
The FaderPort 16, being a desktop device with 16 motorised faders, is currently the most expensive dedicated control surface PreSonus offer costing a reasonable €820 or $920 in Europe.
The cost for an entry-level StudioLive 32SC starts around $2,200 which, like the FaderPort 16, provides 16 motorized faders but includes an integrated touch display, customizable LED lighting features and other cool control surface abilities that we'll cover throughout this article.

The StudioLive Series III unit we have on loan for testing is the 32SX which costs $3,600 and features:
An SD card recorder for capturing live events on the fly
Dual-core FLEX DSP engine possesses enough processing muscle to run 286 simultaneous processors, 26 mix buses, and 40 mixing channels
USB 2.0. Record and playback up to 64 channels, almost twice that of previous generations
AVB over Ethernet for use with PreSonus NSB stage boxes and EarMix 16M personal monitor mixers
Virtual soundchecks via SD card reader
Fully recallable XMAX preamps with ultra-low noise floor
25 touch-sensitive capacitive motorized faders allowing you to mix with precision
24 DCA groups helping you manage complex productions with high channel counts
FLEX FX multi-effects processor vaunts 4 slots of reverb emulations and delays with 4 dedicated effects buses
Fat Channel processing providing vintage EQ and compression options for each channel
Full colour touchscreen and channel scribble strips
Advanced scene management helping you manage complex mixing tasks more efficiently
16 Flex Mixes which can be used as aux mixes, subgroups, or matrix mixes
DAW control with advanced Studio One integration, MCU emulation for Logic, and HUI emulation for Pro Tools
Testing PreSonus’s StudioLive 32SX As A Dedicated Control Surface In Studio One
Like most control surfaces the StudioLive Series 3 is a fairly simple device to set up though the manual wasn’t totally clear on how to achieve this. To set up the StudioLive in Studio One follow these steps:
Connect the StudioLive to your computer via Ethernet and USB.
Download and run Universal Control from the PreSonus website to ensure the connection is live.
Launch Studio One and a Song you wish to use the StudioLive as a control surface with.
Press the UCNET button the StudioLive. From the drop-down menu you will find an option for Studio One. Use the encoder below the display to scroll the menu down if needed.
Select the Studio One option using your finger on the touch display
Press the green DAW button next the UCNET and the faders will fly into action.
This setup enables the StudioLive Series III to be used as a control surface enabling you to use any audio interface you wish. Throughout this article we look closely at several key areas we feel are important aspects of a control surface.
Colours On Display
Channel colour coding in a DAW helps us navigate around sessions. For years these colours would only show within the DAW domain, however, with advances in technology in recent years, more and more control surfaces include the ability to display channel colours per fader.
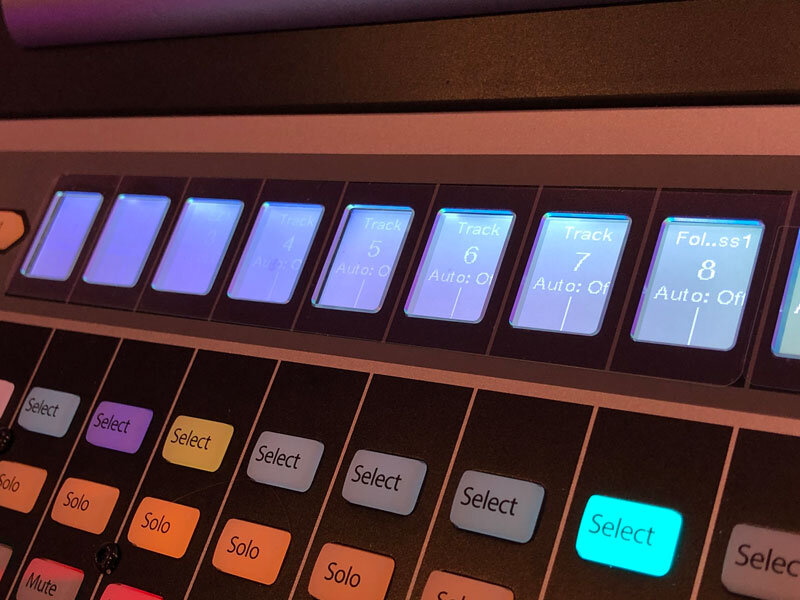
The StudioLive Series III range thankfully includes such capabilities showing bright colours under each channel select button. Channel colours are selectable from either within Studio One by clicking the colour bar beside a channel or by pressing the gear symbol directly on the StudioLive's touch screen.
Touch Display
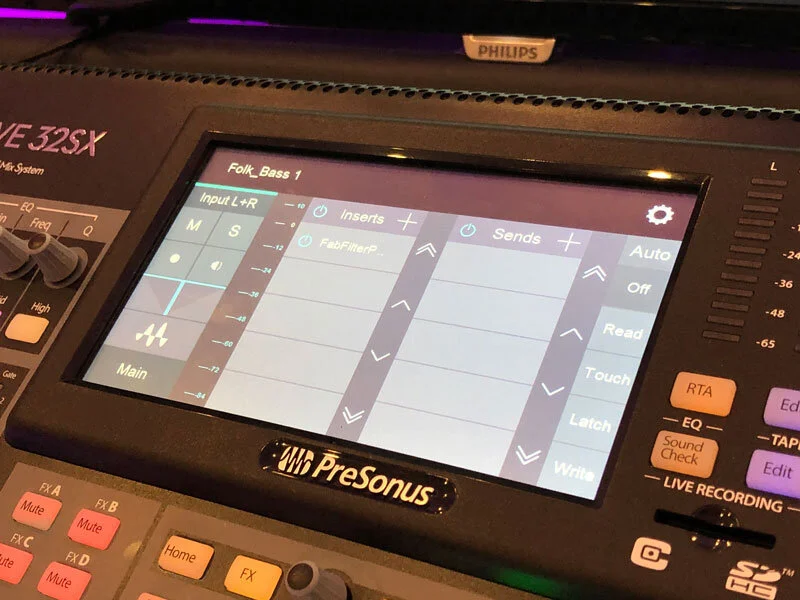
While we're on the topic of the StudioLive Series III touch display, let's explore several cool user features this provides. The display shows a variety of common channel parameters for the channel you have selected either on the console itself or within Studio One.
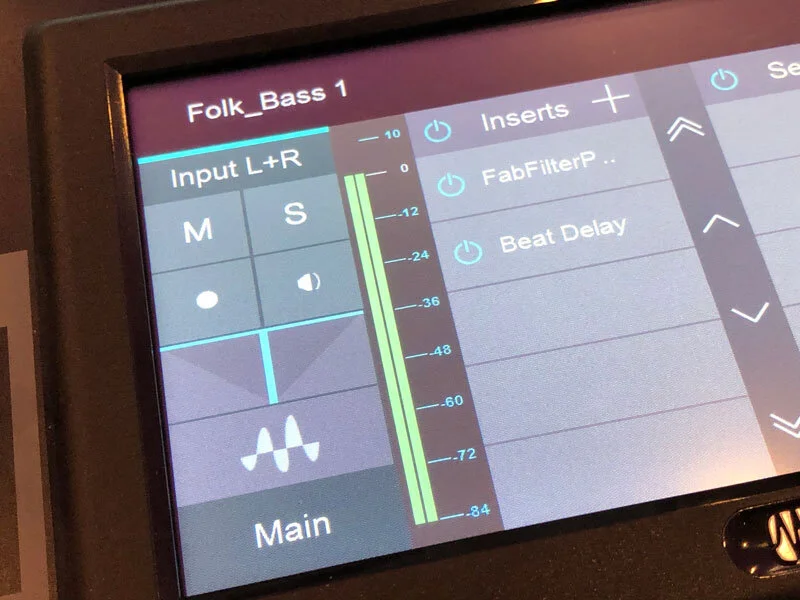
Name And Channel Type
The top of the display shows the full-length channel name which is useful as the digital scribble strip, like on other control surfaces, shortens lengthy names. A handy icon also shows us at a glance what the channel type is which mirrors the same symbols you find in Studio One such as the keyboard icon symbolizing a virtual instrument channel.
Channel Mode
We can engage mute, solo, record arm and monitor from the display as well. There's also a pan position display, though this can't be adjusted from the display. To adjust pan you need to select a track on the console and reach for the Pan encoder in the Fat Channel section.

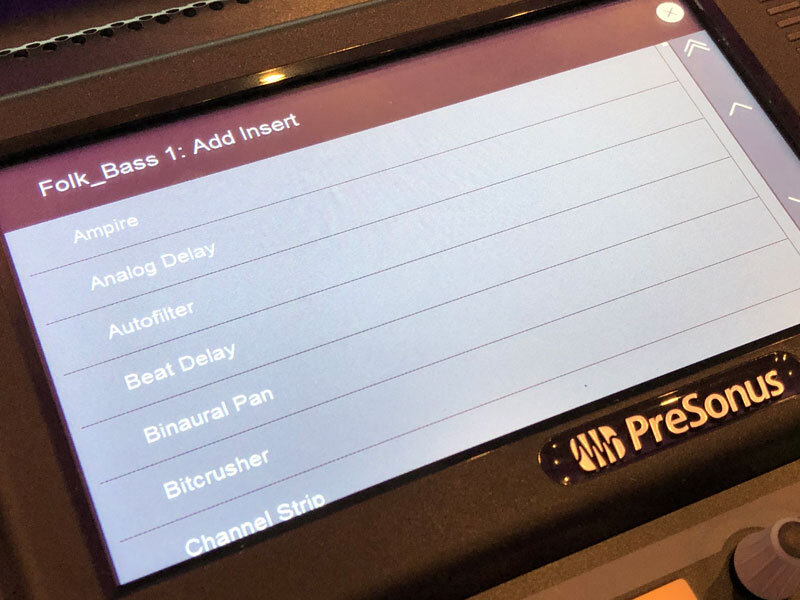
Inserts And Sends
Plug-ins can inserted into a channel from the touch display by pressing the + symbol which shows you your available plug-ins. Simply scroll through the list using the encoder below the display pressing on the plug-in name to load. While this feature works well, the experience doesn't feel as fast or as elegant as dragging and dropping a plug-in from within Studio One's Browser. The list is a presented on this display as a long text menu format which at times can be slow to sift through.
The best way to use the inserts section on the display is to show/hide a plug-in UI in Studio One and to bypass/engage plug-ins. The Sends menu though within the touch screen is far more powerful. You can quickly add a new Bus or FX channel or insert a current send you already have in your session as well as bypass or set to pre-fade.

Each of the send levels can be adjusted using the Fat Channel encoders, but these aren't labelled on the console to showing this. The Gain encoder will adjust the first send level, Gate for the second, HPF for the third and Freq for the fourth. To enable this control from the Fat Channel encoders you will first need to press anywhere within the five sends on the touch display.

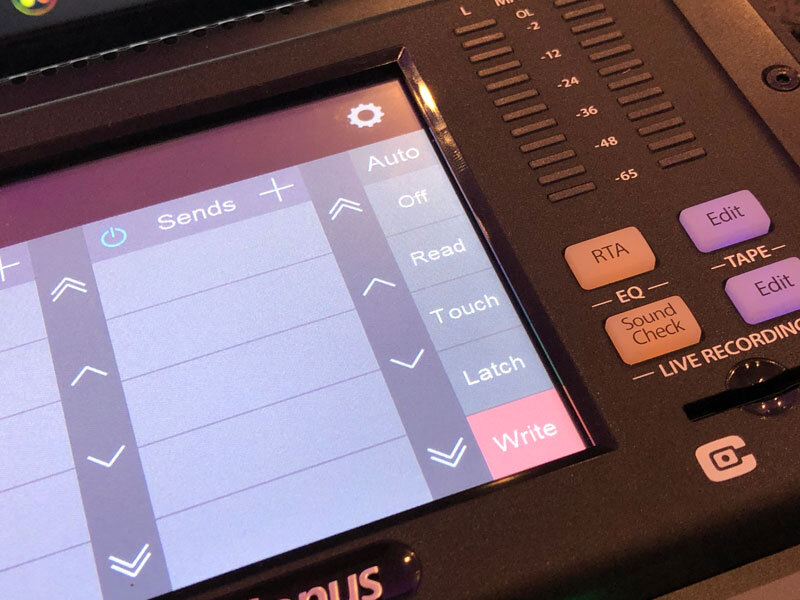
Automation
On the far right of the touch display you will find Automation controls laid out in a typical fashion. When you've selected your prefered automation mode simply reach for faders, perform your level changes and set to Read via the display when ready.
Metering
On the face of it the StudioLive Series III doesn't appear to have much in the form of metering. Dig a little deeper and you'll find more than you need in this department. Above each fader you'll find a basic 3 tier meter which is handy for quick level referencing.

If you need a higher definition meter press a channel's select button and look to the Fat Channel's section where you find a 12 tier meter. As far as we can tell, this LED meter displays a summed representation of a channel's level, which isn't an issue if you are working on a mono track.

If you need to view left and right channel metering within a stereo track you will need to divert your eyes to the touch display. There you will find a fluid looking meter just as you see in Studio One.
Luckily, there's a dedicated Main meter on the 32SX at the top right of the console for quick main monitor referencing.

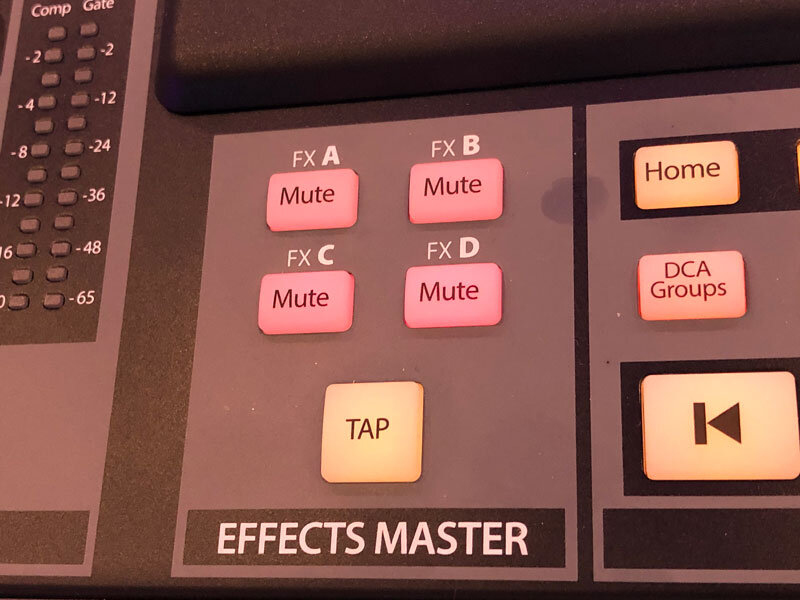
Changing Views In Studio One
There are no dedicated view buttons on the StudioLive Series III consoles, though you can view/hide the Inspector, Browser, Editor and Console using the four Mute buttons in the Effects Master section.
Digital Scribble Strip
Each fader has its own digital scribble strip display. These show a shortened version of a channel's name, channel number, automation status and pan position. These can be challenging to read from some viewing angles, especially the channels at the far edges of the console.
In our tests we found the touch display a much more effective way of viewing channel information as text is larger and much clearer, though you do need to ensure you have a channel selected to view its information.
Faders
How a control surface's faders feel under the fingers is where it really counts. A console with cheep feeling rattly faders often don’t encourage use whereas a board with weighty positive feeling faders inspire confidence.
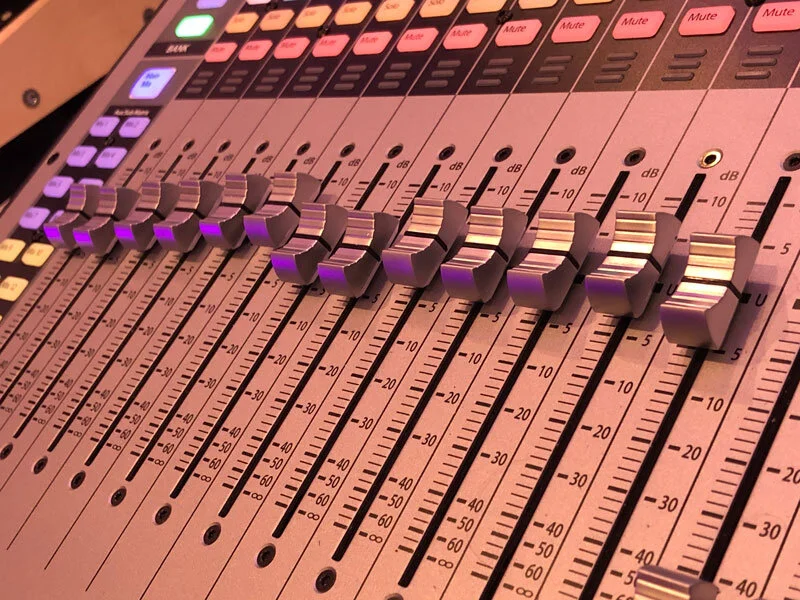
The StudioLive Series III touch-sensitive motorized capacitive faders feel purposeful and responsive, though the movement between positions in Studio One's Console lag slightly behind physical inputs on the console. From testing other control surfaces with Studio One we can report this slight lag between what the control surface is doing and what we see in Studio One's console isn't unique to the StudioLive. This isn't a deal-breaker as having a control surface often negates the need of having a mix window or console view open all that often in a DAW.
Verdict - Is The StudioLive Series III A Worthy Control Surface Or Is The FaderPort A Smarter Choice?
The StudioLive Series III is very much in its own right a more grown-up control surface compared to the FaderPort 16, but if you want to use this as a dedicated control surface, then this maturity comes at a price as you may not have a need for many of its other features. If you are not only looking for control surface but an audio interface as well then the StudioLive has plenty to offer you, especially in the I/O department. The real value in this console is, as stated earlier, is in its dual purpose. As a control surface for Studio One the StudioLive Series III is solid as a rock, though some of its ergonomics and button schemes are slightly sacrificed because this also needs to be able to work well as a live board.
Vist PreSonus to learn more about the StudioLive Series III of consoles.
Watch our video below to learn more about the StudioLive Series III audio interface and live credentials.

