In this article, Nick Messitte from our friends at iZotope is getting into the nitty gritty of limiters—when to use them, how to use them, and how to train your ears to tell if they’re mangling your original sound source.
But first, we need to define what a limited actually is; scour the internet and you’ll see a panoply of definitions as to what constitutes a limiter. Most definitions agree on the specs: it’s essentially a compressor with a ratio of more than 10:1, though I’ve seen 8:1, 20:1, 100:1, and ∞:1 bandied about. But I’d like to argue that a limiter is defined as much by its purpose as its specs, and here’s why:
We compress for many reasons. We might want to shape the feel of an instrument, or conversely, to shrink its dynamic range to occupy a more manageable space. We may compress for colour as well.
A limiter, however, is commonly used for one reason first and foremost: to catch the loudest moments of a source, bringing them down in a way that a) protects against unwanted distortion, and b) maintains the integrity of the mix’s overall balance or colour.
To put a button on it: Your 1176 emulation is capable of reaching ratios over 10:1. But would you put it on your master bus? Probably not, as it would colour the tonality of the whole mix.
Questionable Side Effects
Limiters are often used to increase the overall level or loudness of an instrument—or more frequently, groups of instruments. But is this the best use of them?
To some degree, that’s up for debate. Some engineers prefer not to juice the input gains or thresholds of their limiters, choosing instead to treat the signal as much as possible before it hits the limiter. They use gain boosts, EQ, and compression to achieve the proper tone and desired level before utilising the limiter to catch peaks.
Other engineers rely on the limiter’s ability to drive input against the output ceiling. Both approaches are valid, inasmuch as proven engineers have relied on either modus operandi.
When To Use Limiters
You may find yourself using limiters on peaky instruments that otherwise sound find (heavy metal drums come to mind). Vocals, which can also spike suddenly, are subject to limiting here and there.
Still, the majority of talk around limiters tends to centre around the master bus—at least in my experience. This makes sense: Limiters are ubiquitous at the end of the mastering chain, as Bob Katz noted in his treatise on mastering.
Here, think of the limiter as the bouncer standing just outside the door, keeping the harsh digital overs outside of the proceedings, and doing so with the force of a brick wall, which brings us to…
Brickwall Limiters And True Peak Operation
We often call such processors “brickwall limiters,” as their implementation keeps the signal from breaking through a predetermined ceiling (maybe we should call them “brick-ceiling limiters”). They operate with infinitely high ratios, always implementing a delay in the signal to see peaks coming down the pike before acting upon them. Sometimes you can tweak how far the limiter peers into the distance (how long they buffer the audio for) with a dedicated lookahead parameter. Sometimes you can’t.
Whichever kind of limiter you have, know that it doesn’t necessarily protect against clipping, no matter what the meters might tell you. This is because many earlier digital limiters weren’t suited for catching the peaks that might occur between digital samples.
This has changed within the last decade, and here’s where a “true-peak” or “ISP” parameter comes in. If you see one of these, use it whenever you intend to convert to MP3 downstream. They help prevent clipping that might result in running your resulting master through the codec.
Common Controls In Mastering Limiters
Limiters can come with attack and release controls, but not all of them do. As a matter of fact, their GUIs can appear vastly different depending on the brand. Some limiters have threshold sliders dictating the level at which gain reduction begins; these sliders also affect the corresponding output gain, and as such, the signal seems louder the more you pull these sliders down. Other limiters ditch the threshold control altogether, showing you only input gain; these increase the level—and gain reduction—the more you push them up into the digital ceiling.
The mechanics of your limiter may vary, but the overall tools are the same: a parameter dictating your highest possible level in dBFS (commonly called the “ceiling”), a knob/slider that determines the amount of gain reduction—one that is similar to a compressor’s threshold (quite often, this parameter makes the signal feel “louder”) and a time constant of some kind; this is usually a release control, though sometimes attack is offered as well.
Some limiters offer stereo linking controls, the manipulation of which can have an effect on the width of your mix. Left totally unlinked, both channels will be limited independently, causing one channel or the other to dip in level at various times. This can create an interesting sense of width, because each side of the stereo image is reacting differently to the limiter, drawing the ear in different, less uniform directions. When pushed too far, unlinked limiting can cause the stereo image to wander in distracting and unpleasant ways.
Conversely, you can often opt to link the left and right channels, in which case the louder one, regardless of its stereo placement, will trigger gain reduction across the board. This creates a more uniform stereo image because you aren’t hearing those variances in the left and right channels.
Often degrees of linking are provided, usually in percentages. Your ears will ultimately be the judge of what sounds best here.
The generation of limiters being offered today tends to provide dedicated controls for transient preservation as well. These controls help guide the limiter in the quest to preserve the more punchy, rhythmic elements of your mix, which can frequently feel rounded off or squashed in the limiting process.
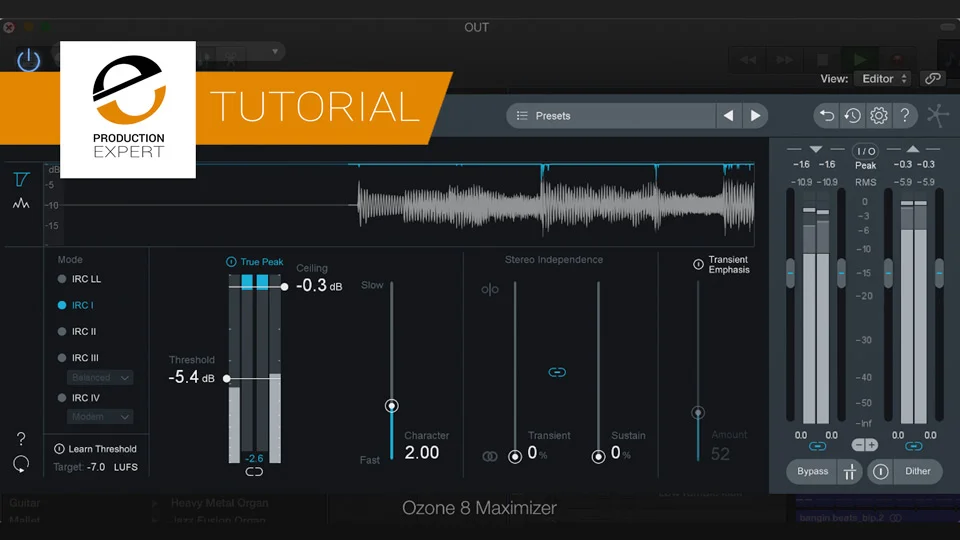
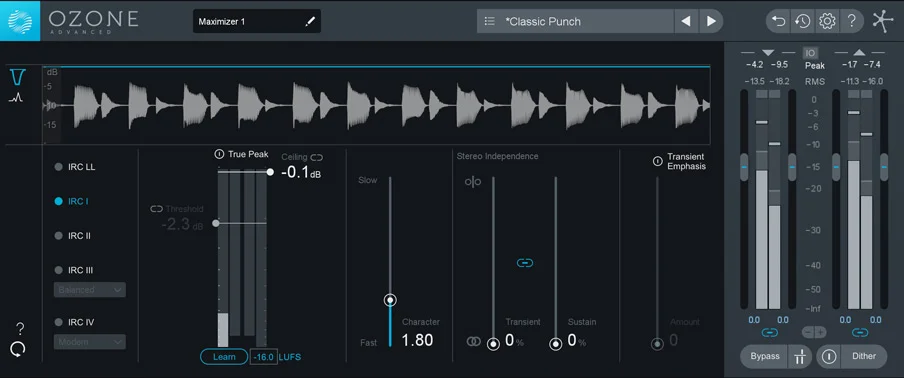
Ozone 8’s Maximizer, which handles the limiting duties in iZotope’s mastering suite, offers two stereo controls, one that focuses on the transient portion of the signal, and another that centres on sustained material over time. You’ll also note their Transient Emphasis slider, which handles transient preservation before the limiting stage.
To better hear how these work, try implementing the exercise we’ll outline in just a moment.
The Rhythm Of Algorithms
These days, limiters often employ selectable algorithms to better suit your individual music, some of which deploy sophisticated multiband technology under the hood. Take some of Ozone’s venerated IRC algorithms, for example.
IRC stands for “Intelligent Release Control”, and to some extent, IRC will preserve the dynamics and overall clarity of your mix. Now, with so many different IRC settings—four overall, with separate “styles” in IRC III and IRC IV—it can be tough to know which is best for the music at hand. Luckily, most companies offer manuals to explain their algorithms, and iZotope is no exception, providing a detailed explanation of IRC in their documentation.
Where does multiband come in? That would be IRC IV, which uses a multitude of bands, rather than three or four, as you would’ve seen in the conventional, multiband limiters of yesteryear. IRC IV’s bands are split up in a psychoacoustic way to better serve the material at hand, resulting in a more transparent and natural effect.
All of this is well and good, but how do you actually use you a limiter to your advantage? After all, if set wrong, limiters can introduce their own distortion, as well as unpleasant side effects on the groove.
How To Hear The Difference In 4 Easy Steps
Here’s a step-by-step guide for identifying for tuning your ears to the sonic specificities a limiter imparts on your mix. I usually go through some iteration of this process every time I demo a newly-released limiter.
1. Link the limiter’s input and output as you tweak
Many limiters allow you to link the input gain or threshold control with the output ceiling so that as you push one, the other comes down in level. This way, your ears won’t be fooled by a satisfying jump in loudness, and you can better judge the moment you’ve gone too far.
Ozone 8 has a linking feature that pairs the threshold slider to the ceiling. Turn that on as you pull the threshold down. At some point, you’ll hear audible distortion. Stop here and pull back until you don’t hear the distortion any more. Now you’re ready for step 2.
2. AB between gain-matched bypass and limited signal
Compare the limited signal with its bypassed variant, carefully noting the differences in timbre. Does the track feel narrower with the limiter on? Are the transients pillowy, softer, or otherwise altered? Does the groove of the whole piece seem different? Note your generalized findings, and write them down if that helps you (it helps me with internalization).
3. Set up a delta test
This is where things get fun—and depending on the limiter, a bit tricky. We’re defining “delta” here as the real-time difference between your limited mix and bypassed version. It’s similar to soloing the esses of a de-esser (where you’d only hear the ess), or the noise output of a de-noiser (where you’d only hear what it’s removing).
Isolating and soloing these artifacts will call attention to them. Hearing them apart from the mix will tune to your ears to what’s missing from your limited material once you switch it back on. It’s a bit like training yourself to hear the effects of MP3 encoding using Ozone’s codec simulator: Once you hear what the encoding takes out of the original mix, those weird, lossy qualities of MP3s reveal themselves more plainly. The same general principle underscores this exercise.
Some limiters offer specific delta parameters, but not all do. Luckily, you can make your own with some clever routing, multiple instances of a limiter, and a plug-in that flips polarity.
Please note: different DAWs handle latency in different ways, so you may need to experiment for your own purpose. Luckily, the workflow is roughly the same in Logic Pro X and Pro Tools, two of the more common DAWs.
First, kill the output of your source track, selecting “no output” (or whatever variant of that terminology your DAW provides) in the output section. Next, route the source to two auxiliary channels on two sends. Duplicate the limiter to both auxiliary channels, and bypass the limiter on your source track. On the second channel, flip the limiter itself into bypass. Logic users take note: Do not use your DAW’s global bypass, but rather, the plug-in’s own bypass parameter.
Next, load any utility plug-in after the limiter that flips the phase of the left and right channel.
Logic users, I cannot stress this enough: it’s essential for you to have both limiters instantiated for the trick to work, or else latency will be an issue, and you won’t hear what you’re supposed to hear—the sporadic limiting of your mix, usually on the kick and snare drums, when the limiter is audibly pushing down on signal.
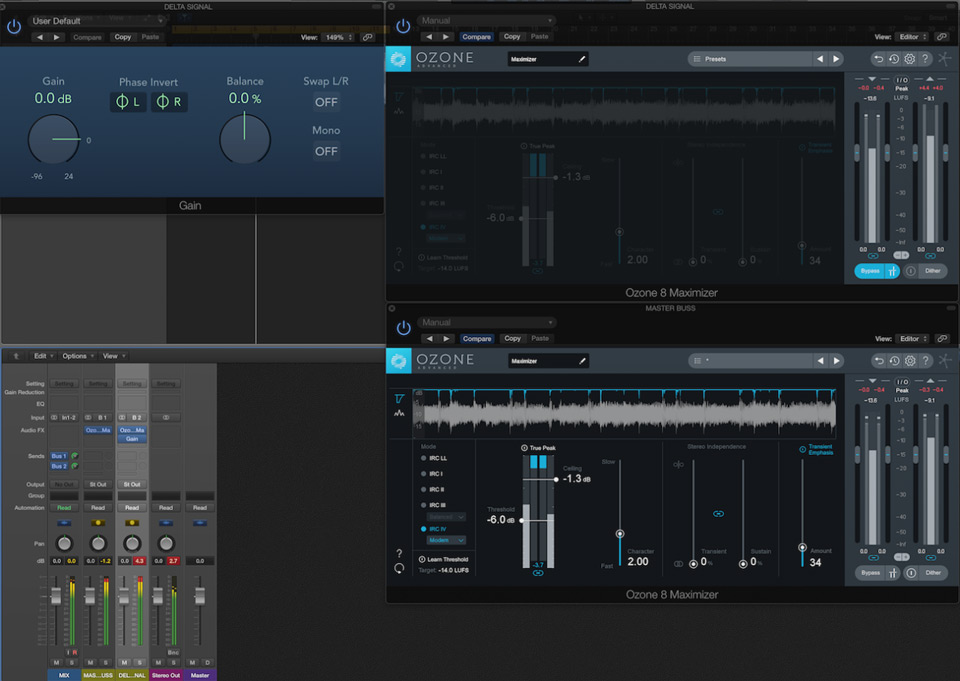
By way of example, here’s a snippet of music:
And here’s it’s delta/difference signal:
Once you’ve analyzed this for a while, you’re ready for the next part:
4. Go back to the A/B comparison
That’s right: Go back to step two and compare the limited mix to its bypassed counterpart. Now that you’ve identified, heard, and internalized what the limiter is taking away, you should be able to hear the differences between the two more clearly. Start moving parameters around, and you’ll find you’re hearing what they’re doing; less guesswork will go into tweaking the limiter’s time-constants and stereo interdependence options because your ear has tuned itself to what the limiter is taking away.
Conclusion
Limiters are getting better and better all the time. Some are quite revolutionary—Ozone 8, for instance, employs an assistant which intelligently sets your limiter, and goes farther by placing a dynamic equalizer before the limiter which helps achieve an even more transparent operation.
The larger point is this: As limiters are changing all the time, it’s important to understand their base functions, and also, to find ways of testing limiters you may want to purchase in the future. It is my hope I have provided you with the necessary tools to do so in this article.